We may at some point notice that our computer is too full of data (and we have to resort to using external hard drives or pen drives to extract data) or that we cannot install applications, games or work with large files for lack Of space.
Maybe it’s the best time to consider purchasing a new internal hard drive. These components allow expanding the storage space of the computer, in many cases, without having to modify anything in the current equipment. We help you do it step by step.
Table of Contents
How are the internal hard drives and where are they located?

Installing an internal hard drive is simple and can be done by any user who dares and has the right tools (which are usually limited to a simple screwdriver).
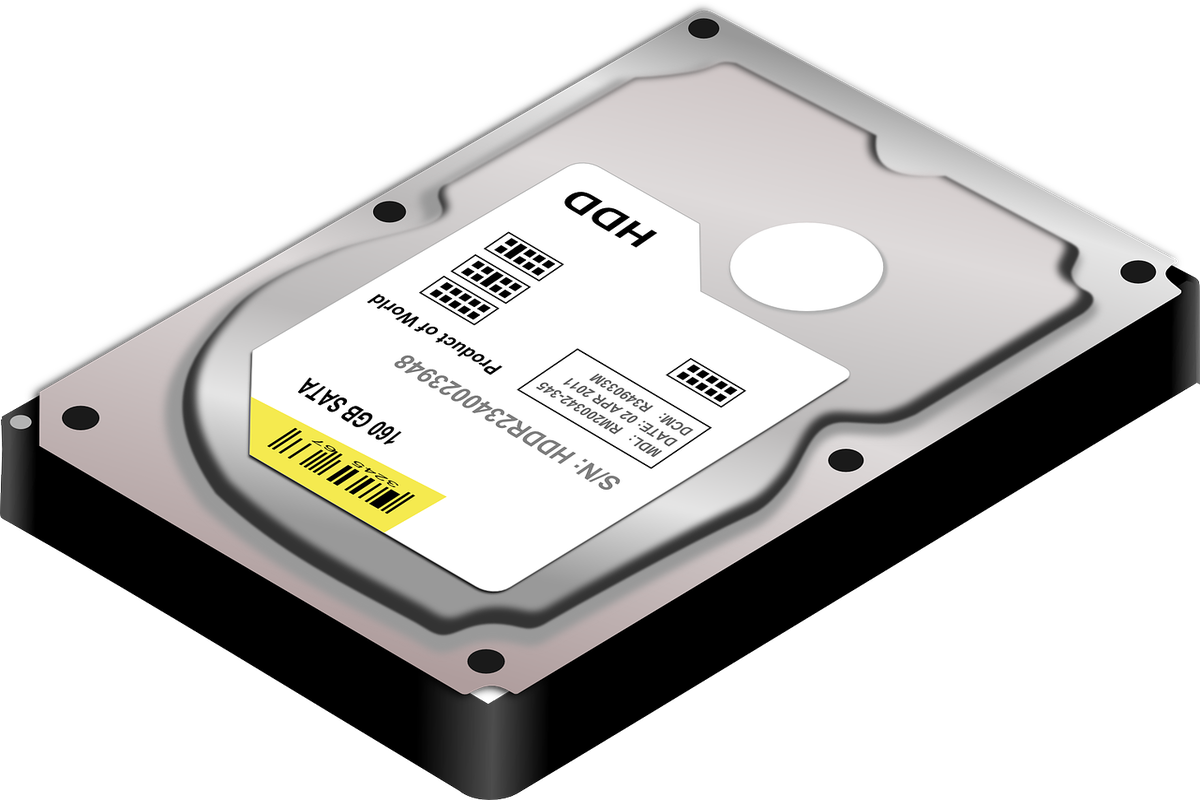
The current hard disks use a data interface called SATA III, which is capable of reaching a transfer speed of 6Gbps, that is to say, a theoretical limit of about 700 MB/s of data flow.
Usually, hard drives have different sizes and different capacities, depending on the equipment where we plan to install it. The most popular hard drives are the mechanics that use magnetic plates to store information, typically 3.5 inches, which currently usually have 1 or 2 TB of storage capacity.

The internal hard drives for laptops are somewhat smaller in size; they remain in 2.5 inches specifically, and, interestingly, they are the same ones that are usually used to make the external hard drives that are so successful now.
The capacity is generally similar to that of larger internal discs, although the price is often somewhat higher than these models.

Finally, we find more recent models of hard drives, such as SSD (solid-state drives) or M.2. This type of discs are large pen drives: they do not use mechanical disks inside, but flash memory.
They are much faster than mechanical disks, have a smaller physical size (typically 2.5 inches) and a lower capacity much less than mechanical disks (it is rare to see 1TB SSDs). They are also somewhat more expensive.

SSDs can be used both on desktops and laptops thanks to their small size and work with a SATA connector, while M.2 disks, being “memory sticks,” are usually used in new generation laptops or Ultrabooks and have their connector.
There are also hybrid hard drives that, in the same body, include an SSD hard disk and a mechanical hard disk, with the ability to use the SSD disk as the place to dump the main data load (and to make the system more fluid) and the mechanical drive to store most of the remaining data.
Supercomputers have a high-end hard disk and high-end graphic cards.
How to install an internal hard drive
We get to work reviewing, first of all, that we have the right tools and components, i.e., screwdriver, SATA cable, power cords in the computer source (if it is desktop) and size adapters (if the disk hard is too small to fit on the computer).
Before getting down to work, it is essential to know that this process must be carried out with great attention to all the steps and with special care with the pieces, which are fragile and can be affected by blows, bad connections, and even by electricity static.
You should know that you are fully responsible for what happens during the installation.
Installing the hard disk in a desktop computer

After removing the top of the tower, we will have to locate the hard drive bays, usually placed in the lower front part of them, just below the DVD players. In the computer we have used in these example photographs, we can see how the tower includes bays adapted to 2.5-inch and 3.5-inch drives, in addition to using a screwless installation.
It is because it is a unique tower or high-end, in the most affordable towers, the installation is usually different.
We usually will find bays where we will have to use screws to fix the disk to them and even use individual plates so that the 2.5-inch hard drives (an SSD) fit perfectly in a 3.5-inch bay.
Once we have fixed the hard disk in a free bay, we will have to place two cables:
look for a free SATA power connector in the computer’s power supply (they are black, wide, they have a small rectangular notch in their shape) and, of course, we will have to connect the SATA data connector, which is the lowest and goes from the hard disk to the motherboard.
If the hard disk that we will install will be the only one of the computer, then it is necessary to connect the SATA data cable to the SATA 1 connector of the motherboard, in case we use it as extra storage hard disk, we can use any of the connectors remaining (SATA 2, SATA 3, etc.)
In the computer of the image we are installing no less than three hard disks, an SSD hard drive as the primary disk where to install the operating system (for its high data transfer speed) and two mechanical hard drives as secondary, one of 1 TB and another 2 TB in size.
If the hard drive to install is an M.2 model, we have to find the slot indicated for this type of disk in our motherboard and fit it (as if it were a video game console cartridge).
There are PCI Express adapters and SATA adapters to install the M.2 hard drives in other different ports if the board does not have this system.
Installing the hard drive in a laptop
To install a hard drive in a laptop, we have to get an appropriate screwdriver to open the covers. On this occasion, the process will be much simpler, but we can only use one hard disk instead of several, as it happens on a final desktop computer.
It is rare to see a laptop with several hard drive bays unless it is a very high range or can use several types of discs.
Once the hard drive bay cover of the laptop (or the entire casing, according to the computer and its way of opening) it opens.
We will only have to fit the disk in the appropriate bay or socket and the indicated connectors (here not we will need additional cables), either a hard drive with a SATA connector or an M.2 hard drive.
After this, we just have to turn on the computer and proceed to install the operating system, in case we start with a clean installation or format the hard drive from our usual operating system to a compatible format such as NTFS or exFAT, in the if we use it as a secondary disk to store data.
Related Articles: What is DOCSIS 3.1 Modem?