
For Mac users, it is very important to understand the RAM usage. RAM is a critical resource for your computer to run various applications and operating systems, so effectively monitoring and managing RAM usage can help improve your Mac’s performance. If it takes a long time to open a web browser or program on your Mac, it’s worth checking your Mac RAM usage. Because the accumulation of files, caches, apps, etc. can make your Mac run slowly. Now, we’ll introduce several ways to check your Mac’s memory usage.
Part 1: What signs indicate that Mac’s space may not be working properly?
- App crashes unexpectedly, more frequently than before.
- Your operating system freezes or restarts without warning.
- Files and settings are easily damaged.
- The problem occurs even after reinstalling macOS.
- You are experiencing startup issues, including three beeps on startup.
Part 2: Why should we check RAM usage on Mac?
- Performance: Insufficient RAM can cause your Mac to slow down, especially when running memory-intensive tasks or multiple applications at once. Checking your RAM can help you determine if an upgrade is necessary to improve performance.
- Diagnostic purposes: If you’re experiencing frequent crashes, freezes, or other performance issues, checking your RAM can help identify if these issues are related to memory problems.
- Compatibility: When considering upgrading your Mac’s RAM, it’s essential to check the existing RAM specifications to ensure compatibility with new modules. This can help prevent compatibility issues and ensure a smooth upgrade process
- Future-proofing: As software and applications become more resource-intensive over time, checking your Mac’s RAM can help you plan for potential future upgrades to maintain optimal performance.
Part 3: How to Check RAM Usage on Mac?
Method One: Use Apple Diagnostics to Check Your Mac’s Memory
Testing your RAM is easy with Apple’s User Diagnostic Tool. Simply restart your Mac and hold D immediately after restarting. If done correctly, your computer will boot into Apple Diagnostics or Apple Hardware Test, depending on the age of your machine.
M1 Macs require a different way to enter Apple Diagnostics. You must first shut down your Mac and then turn it back on, holding down the power button until you get to the startup options screen. Then, press Cmd + D.
This may take a while, especially on older computers. Once completed, you should see a report with a brief overview of any issues detected. However, this test will only tell you if a problem is detected, not which stick of RAM is at fault.
Having trouble running your tests? Holding Option + D on startup will run this test from the Internet, but it will take longer to collect the required files, and it should work fine once the download is complete. This only works on Intel Macs.
Method 2: Use the Activity Monitor apps
“Activity Monitor” is a powerful tool built into Mac that allows users to view the running status of the system in real time, including memory usage. Find the Utilities folder in your Mac’s Applications folder and open Activity Monitor. In the Activity Monitor window, click the Memory tab and you’ll see detailed information about memory usage.
Here, you can view information such as the amount of physical memory, used memory, App memory, linked memory, compressed memory, cached files, and used swap space. This information can help you understand memory usage and which applications are using a lot of memory.
Method 3: Check the storage space through system settings
Mac’s System Settings also provide an easy way to view your storage usage.
Choose Apple menu > System Settings, then click General in the sidebar.
On the general settings page, scroll down and click “Storage”. Here, you can view the storage space used and available space on your Mac.
Method 4: Use memory monitoring software
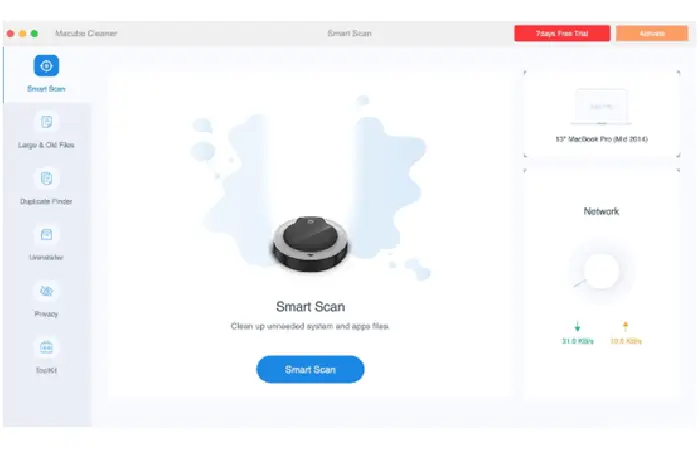
If you feel that the above methods do not help you and they are complicated and time-consuming, then you can try to install RAM monitoring software to help you solve the problem. Software does not require you to manually check memory, they can quickly monitor and check in a few simple steps. There are many RAM monitoring software on the market, and you definitely don’t know which one is best for your Mac. After trying to install multiple similar software, I was left with only one memory monitoring software called Macube on my Mac. I found it very simple to use. It will not interfere with your use of other APPs during operation, and at the same time protects the important personal privacy information you leave on the browser when cleaning up memory. You can choose to clear these private contents on your browser regularly to prevent them from being leaked.
Conclusion: Through the above methods, you can easily view and manage your Mac memory. Checking, monitoring and cleaning your Mac’s RAM usage is very important, as it determines whether you can use your Mac smoothly and safely. I hope this article will help you if you are using a Mac.