
Prevent Audio Sync Problems When Recording Video Separately
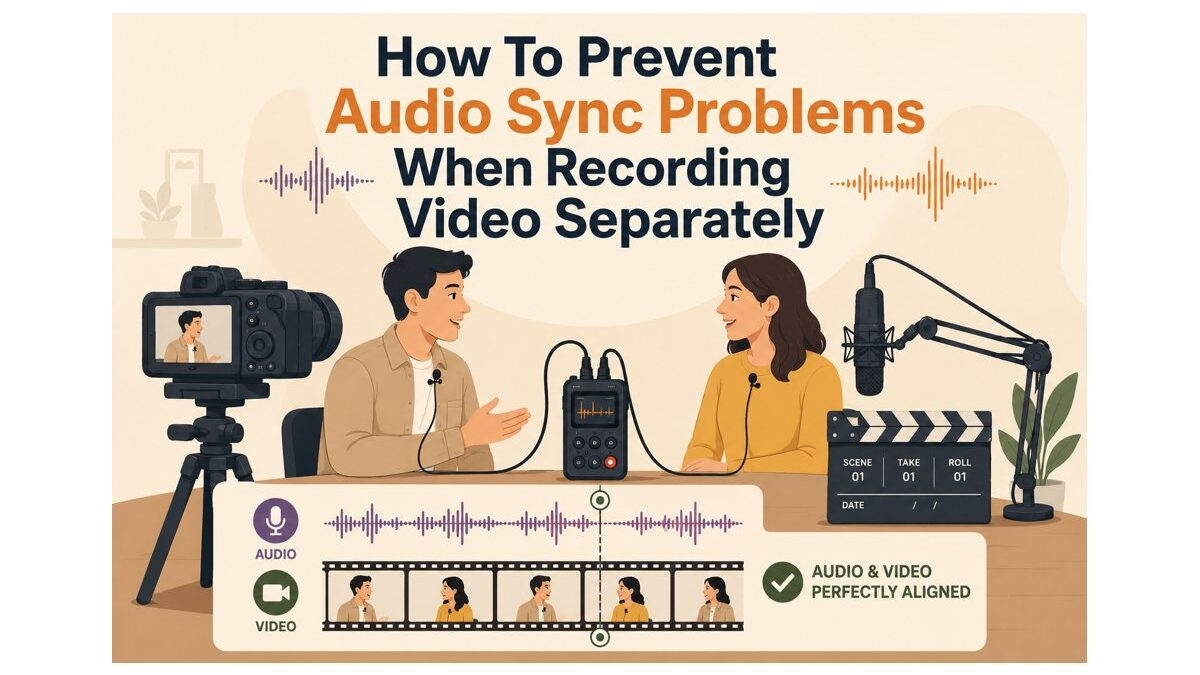
Sync problems seem like editing issues because you usually notice them later. Camera and microphone files may not align properly during the editing process. By then, recording has finished, leaving fewer options for fixing problems.
Most audio and video synchronization problems actually begin during the recording. Muted microphones, missing claps, or stopped recorders can cause problems much later. This guide covers prevention habits and final checks to perform in Filmora.
Table of Contents
Part 1. Keep Reference Audio Enabled on the Camera
The most damaging mistake is switching the camera microphone off. It may seem sensible since that track will not appear in the final video. However, reference audio gives the camera and external recording a shared sound source.
Tools that synchronize sound with video can compare audio captured in both files. The camera track can sound quiet, thin, or noisy and still provide a useful reference. Check that its audio level is clearly audible rather than silent, then leave it recording.
Part 2. Create a Visible and Audible Cue
Reference audio makes matching possible, while deliberate cues help sync audio to video. Below are the 4 simple habits giving every take an unmistakable landmark:
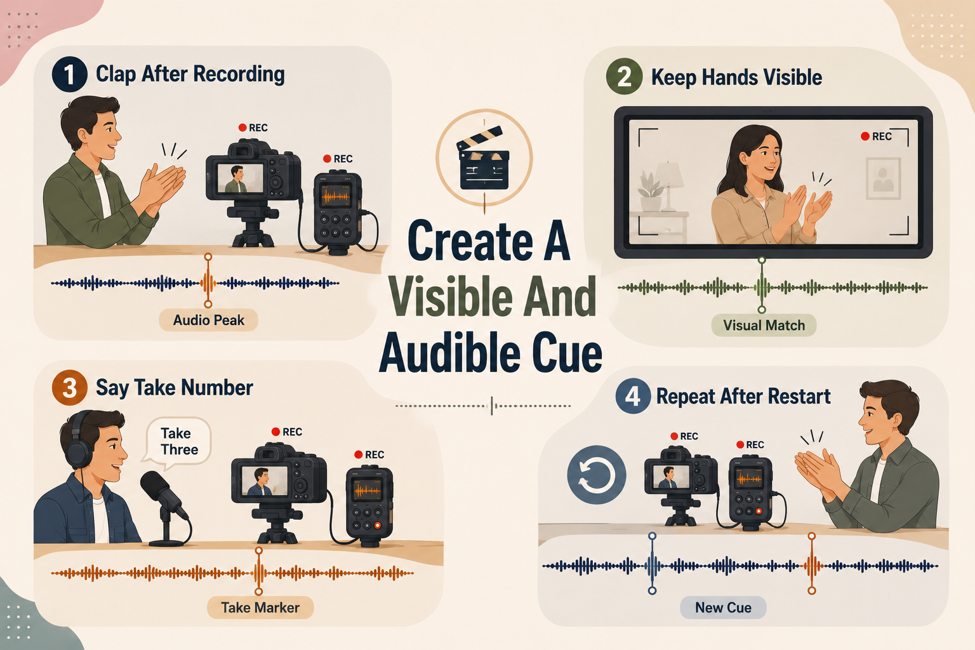
- Clap Once After Both Devices are Rolling: Wait a beat so the peak stands alone instead of sitting under someone talking.
- Keep Your Hands in Shot: A cue you can see and hear lets you confirm alignment by eye later.
- Say the Take Number: Speaking it aloud puts the same label into every file at the same moment.
- Repeat It Every Time You Restart: Create a new cue after each stop, not just once at the start of the day.
After synchronization, you can label important cues or take details using Filmora text animation for clearer visual references.
Part 3. Use Matching Take Names and Notes
Cameras and recorders create unclear filenames, making correct take matching difficult. Look at the table below for simple ways to organize recordings:
| What to Record | Why It Helps Afterward |
| Scene and Take Number | Gives both files the same reference, so the pair is obvious months later |
| The Tate | Separates two shoots that used the same scene numbering |
| A Sequence Number | Keeps the running order clear when a camera restarts mid-conversation |
| A Short Note | One line about what went wrong saves you from playing every file to find out |
Part 4. Check Batteries, Storage, and Recording Indicators
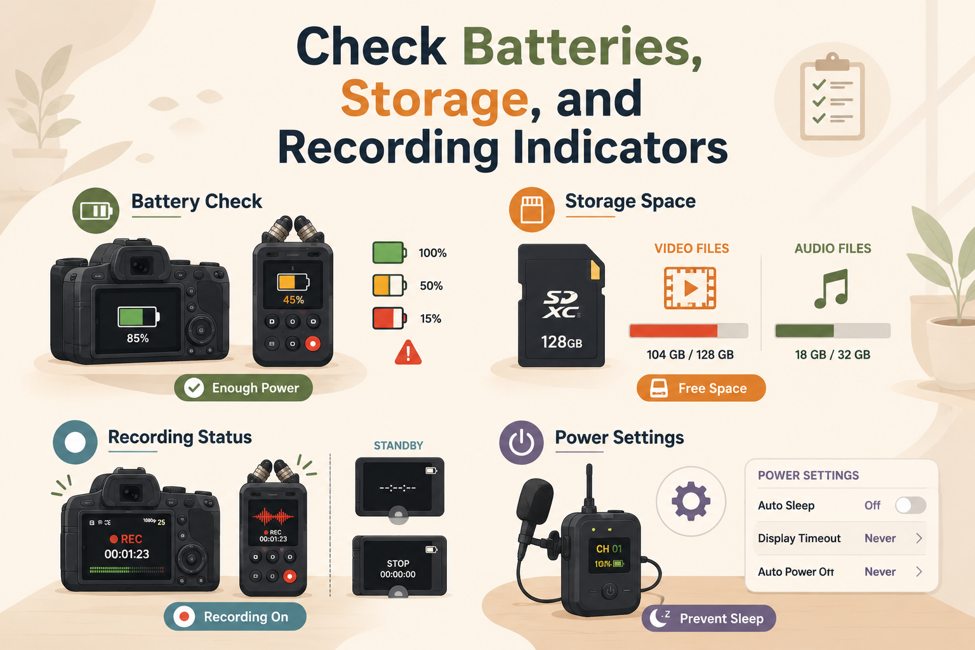
Device failures during recording make it difficult to synchronize sound with video. Now, let’s review 4 simple checks that prevent these common recording failures:
- Battery Level on Both Devices: Recorders often outlast cameras, so the camera is usually the one that dies first.
- Free Storage on Both Cards: Video fills a card far quicker than audio, and some cameras split long takes into separate files.
- The Actual Recording Indicator: Confirm each device is recording rather than armed, since a standby light looks much the same.
- Idle Power Settings: Some wireless microphones switch themselves off after a few minutes without sound, which catches people out between takes.
Part 5. Run a Short Sync Test Before the Main Recording
A short test reveals audio and video synchronization problems before recording begins. Running it early helps catch issues before starting the main take:
Step 1. Record a Short Sample with a Cue
Start both devices, clap, say a few words, and stop. Use the same settings and the same positions you plan to use for the real recording.
Step 2. Find the Matching Point
Bring both files into your editor and place them on separate tracks. Find the same clap or clear sound in both waveforms before adjusting their positions.
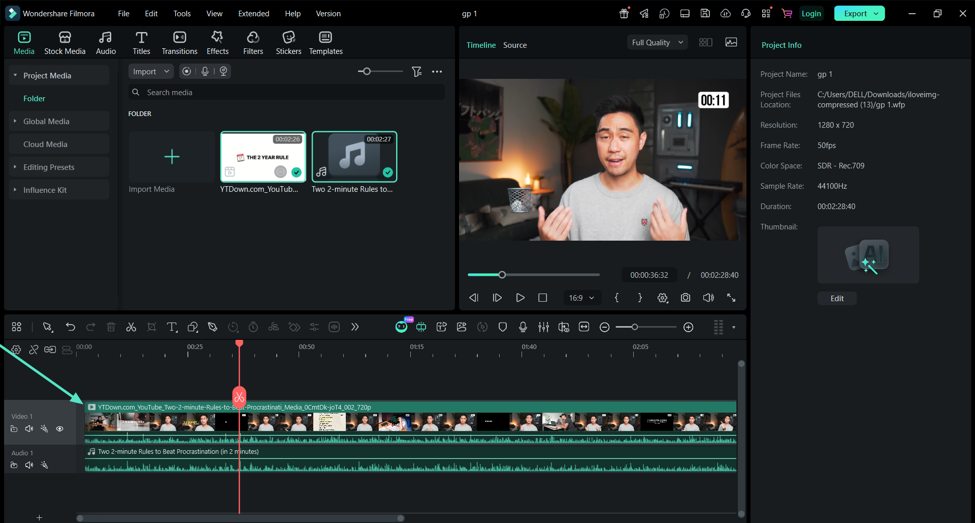
Step 3. Note Any Consistent Delay
Zoom into the matching waveform peaks and check the timing difference. If the external audio consistently appears later, note the offset before aligning the tracks.
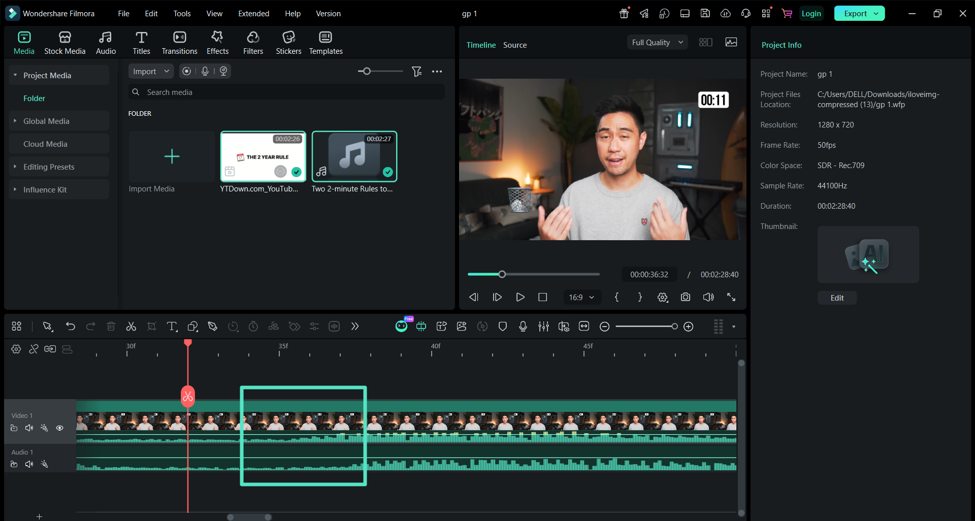
Part 6. Avoid Trimming Away the Shared Cue
Early file trimming can remove shared cues needed to auto-sync video and audio. Now, let’s protect those important cues before making any edits to files.
Keep the Original Files Untouched
Copy everything from the cards first, treating those copies as your masters. Trimming dead air from recordings can accidentally remove the important clap cue. That clap provides the shared reference needed for accurate alignment during editing.
Leave the Cue in Place Until Alignment Is Confirmed
Do the trimming inside your project rather than on the source files. The cue only becomes disposable once the two clips are locked together and you have checked the result.
Part 7. Confirm the Matching Pair in Filmora After Recording
Organized files make checking the recorded audio and video easier. Confirm everything in Filmora immediately before moving forward with your editing.
Step 1. Run the Pair Through Auto Synchronization
Place one camera clip and its external recording on separate tracks, press “Ctrl + A” to select both, and use the “Auto Synchronization” button on the toolbar. Filmora can automatically synchronize sound with video this way whenever the shared sound is usable.
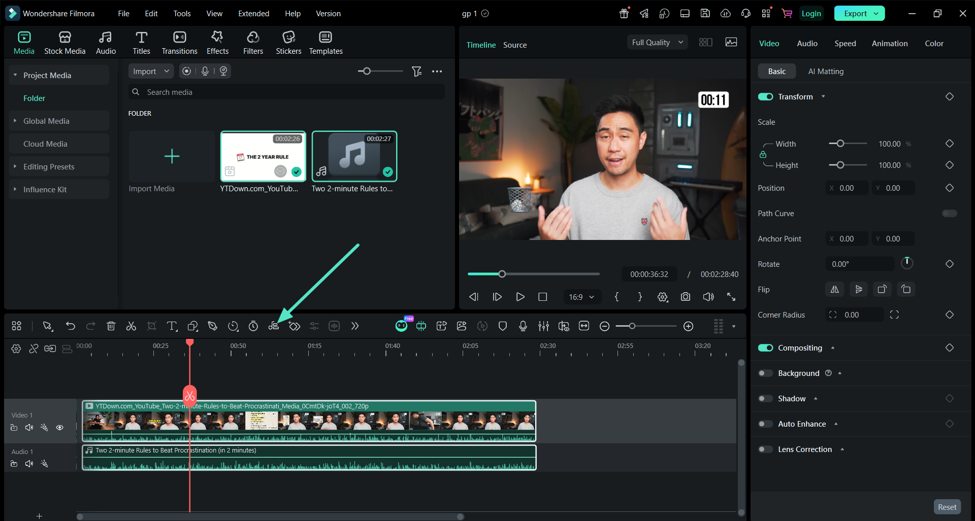
Step 2. Check the Start and the End
Watch someone speaking near the beginning, then jump to the last minute and watch again. A match at the start with a mismatch at the end is the signature of drift rather than a bad alignment. Once the timing is confirmed, follow the Filmora text animation guide to add clear speaker names, labels, or titles.
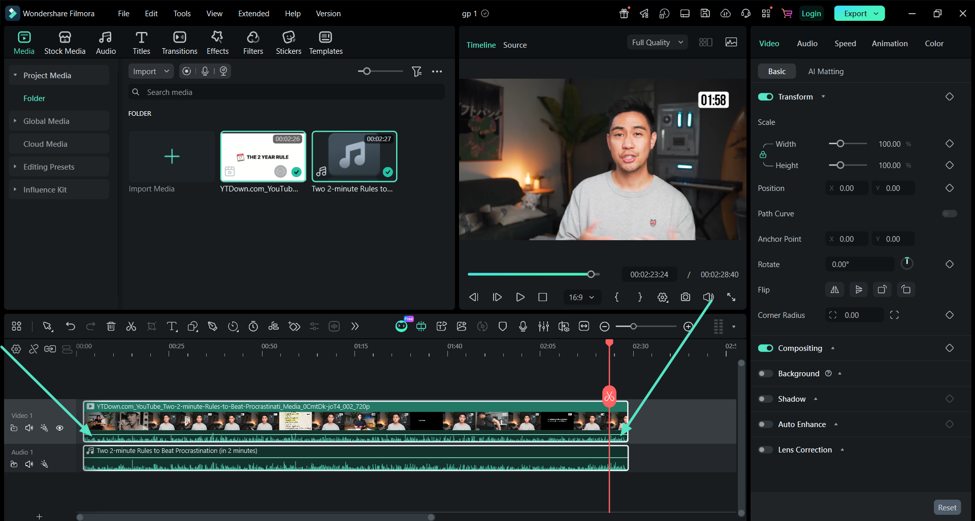
Part 8. Identify Cases That Need a Different Recording or Fix
Some recording faults cannot be repaired through simple alignment during later editing. The table below explains common problems requiring another recording or a different fix:
| The Problem | Why Alignment Will Not Solve It |
| No Shared Audio | A silent camera track leaves nothing for either method to compare |
| The Wrong Take | Two files from different attempts will never match, however similar they sound |
| Severe Noise | Wind or crowd noise can bury the shared pattern under everything else |
| Progressive Drift | The gap grows as the clip plays, so fixing the start fixes only the start |
Drift is worth preventing rather than repairing. Setting every device to 48 kHz before recording removes the most common cause, and a camera set to a fixed frame rate removes the other.
Conclusion
To summarize, simple recording habits prevent most synchronization problems before editing begins. Reference audio, clear claps, organized filenames, and quick tests require little effort. Filmora makes final alignment easier when your recordings are properly prepared beforehand. Good recording habits make it easier to sync audio to video.