
Build a One-Click Citation Generator Into Your LMS Writing Interface
Academic writing often comes with a familiar frustration: students pause mid-sentence just to format citations correctly.
Should the period go inside the parentheses? Is it “et al.” or “and others”?
These small questions break the flow of writing and often lead to formatting errors.

Thankfully, modern HTML rich text editors can make this easier. By adding custom citation buttons directly inside your learning platform’s editor, you can help students to insert correctly formatted citations with just one click.
In this guide, you’ll learn how to build that feature step by step, even if you’ve never customised an editor before.
And the good news is that you don’t need to be a JavaScript expert. Most WYSIWYG editors are built to be flexible and easy to extend, so adding new tools like citation buttons is simpler than you might think.
Table of Contents
Key Takeaways
- You can add custom buttons to HTML rich text editors that insert pre-formatted citations.
- Most citation styles (like MLA, APA, or Chicago) follow clear rules, so you can easily create templates for them.
- Popular editors let you build custom functionality using their plugin systems.
- A bit of JavaScript is enough to make a simple citation insertion feature work.
- You can start small and later add advanced features, like automatically filling in citation details.
Now that you know what’s possible, let’s take a closer look at how these editors actually work and why they’re perfect for adding a feature like this.
Understanding HTML Rich Text Editors
An HTML rich text editor (also called a WYSIWYG editor) is the writing area where students type essays, discussion posts, or assignments inside an LMS. Unlike plain text boxes, these editors include formatting tools like bold, italic, bullet lists, and links, just like you’d find in Microsoft Word or Google Docs.
Behind the scenes, the editor is actually working with HTML. For example, when a student clicks “Bold,” the editor automatically wraps the selected text in <strong> tags.
The same idea works for citations. When a student clicks a custom “Insert Citation” button, the editor can instantly add pre-formatted HTML that follows academic citation rules.
Popular HTML rich text editors used in educational platforms include Froala, TinyMCE, CKEditor, and Quill, all of which let you add extra features using plugins or custom buttons.
Once you understand how these editors work, it’s easy to see how powerful they can be. Even a small feature, like an “Insert Citation” button, can make writing easier and help students focus on learning instead of formatting.
Why Citation Buttons Matter for Student Success
Research shows that citation formatting is one of the biggest challenges for many students.
For example, a study found that non-native English doctoral students often struggle with using citations correctly and integrating sources into their writing.
Another study found that fewer than half of students had a solid understanding of APA style rules, resulting in frequent formatting errors. (Source: Frontiers in Education – Understanding of APA Style Rules)
So, how can a built-in citation button inside an editor make things easier for students?
- Less context switching: Students can stay focused on writing instead of stopping to search for citation examples or external guides.
- More consistency: Automatic formatting ensures every citation follows the same rules, which reduces small style errors.
- Better learning: Seeing properly formatted citations appear instantly helps students learn correct patterns over time.
- Lower stress: When students don’t have to worry about punctuation or citation details, they can focus on building stronger arguments and ideas.
By now, you know why citation buttons matter. Now let’s see how they actually work inside a rich text editor.
How Editor Plugins Work: The Basics
Modern rich text editors make it pretty easy to add new features like custom buttons. Most of them follow the same simple pattern:
- Register the button: Tell the editor that you want to create a new custom button.
- Set it up: Define how the button should look, its icon, label, or tooltip.
- Add the action: Write a small function that runs when someone clicks the button.
- Insert content: That function adds your HTML (like a formatted citation) right where the cursor is.
The editor takes care of all the complicated stuff, like keeping track of the cursor position, managing undo/redo, and cleaning up the HTML. You just decide what gets inserted and when.
Now that you understand the basics, let’s build something practical.
Building Your First Citation Button
Let’s start with a simple example using Froala Editor, though the same idea works in most editors. We’ll create a custom button that inserts an MLA-style in-text citation automatically.
Step 1: Set Up Your Editor
Let’s start by setting up the Froala editor.
You can use it directly from a CDN without any installation.
Step 1.1: Add Froala to Your HTML Page
Create a new file called index.html and add the following code to it:
| <!DOCTYPE html> <html lang=”en”> <head> <meta charset=”UTF-8″ /> <meta name=”viewport” content=”width=device-width, initial-scale=1.0″ /> <title>One-Click Citation Generator</title><!– Froala CSS –> <link href=”<https://cdn.jsdelivr.net/npm/froala-editor@latest/css/froala_editor.pkgd.min.css>” rel=”stylesheet” /><!– Froala JS –> <script src=”<https://cdn.jsdelivr.net/npm/froala-editor@latest/js/froala_editor.pkgd.min.js>”></script> </head> <body> <h2>Froala Editor – One-Click Citation Generator</h2> <textarea id=”editor”></textarea><script src=”script.js”></script> </body> </html> |
Step 1.2: Initialise the Editor
Next, create a file named script.js and add this code:
| // Initialise Froala Editor on the textarea with ID “editor” new FroalaEditor(“#editor”, { // Define which toolbar buttons appear (you can add more later) toolbarButtons: [“bold”, “italic”, “underline”],// Set the editor width (in pixels) width: 800,// Set the editor height (in pixels) height: 300, }); |
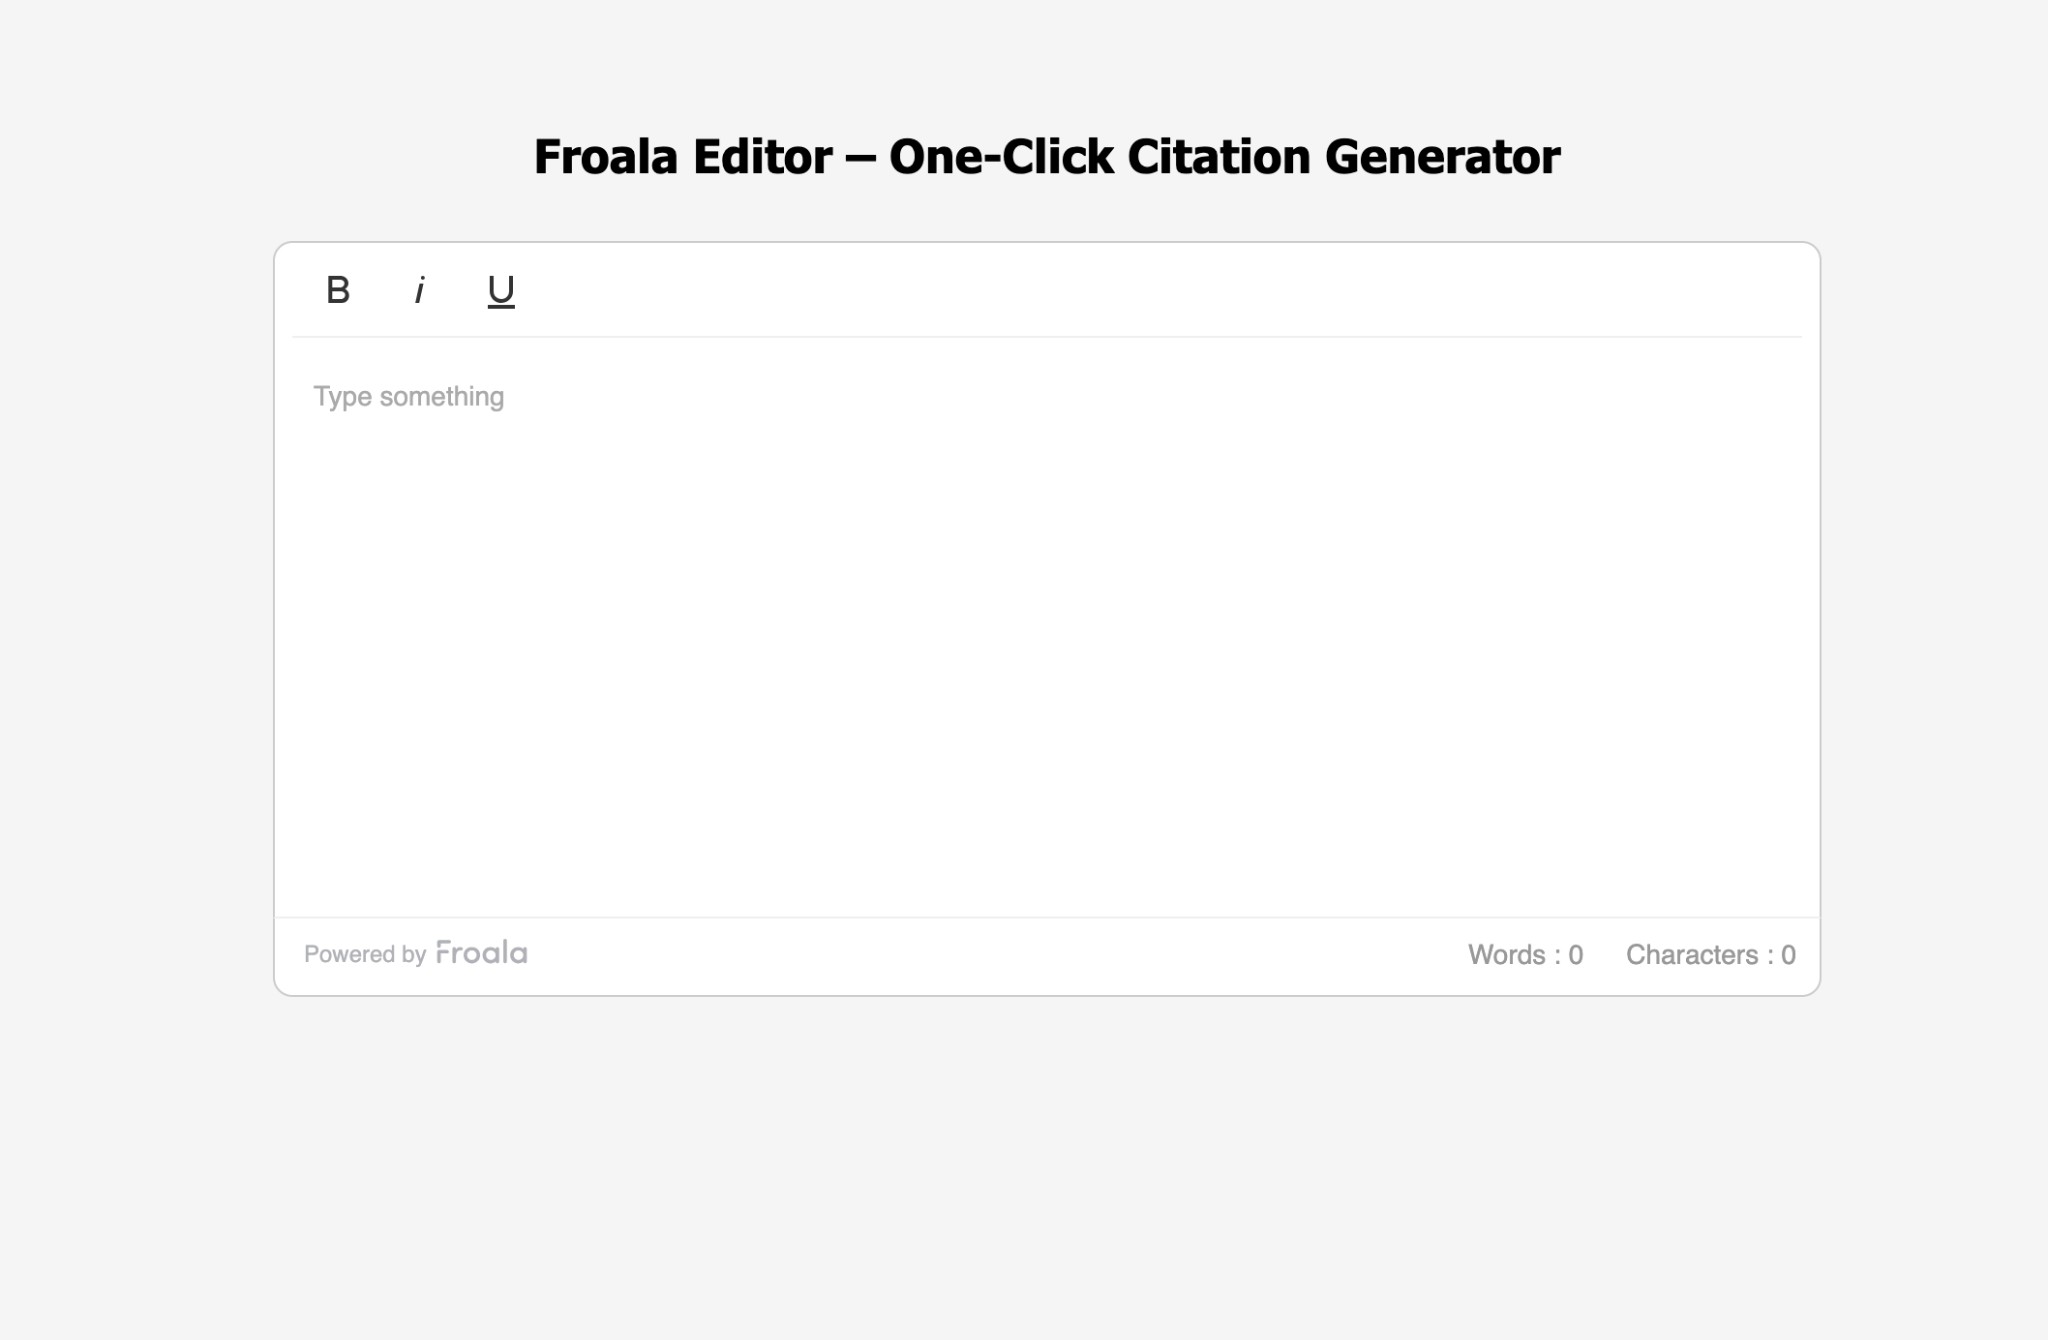
Now open the index.html file in your browser, and you’ll see a simple text editor appear, that’s Froala!
Step 2: Add a Custom Citation Button
Now let’s make the editor smarter by adding a custom button that automatically inserts an MLA-style citation.
Step 2.1: Create a Simple Citation Button
Add this code to your script.js:
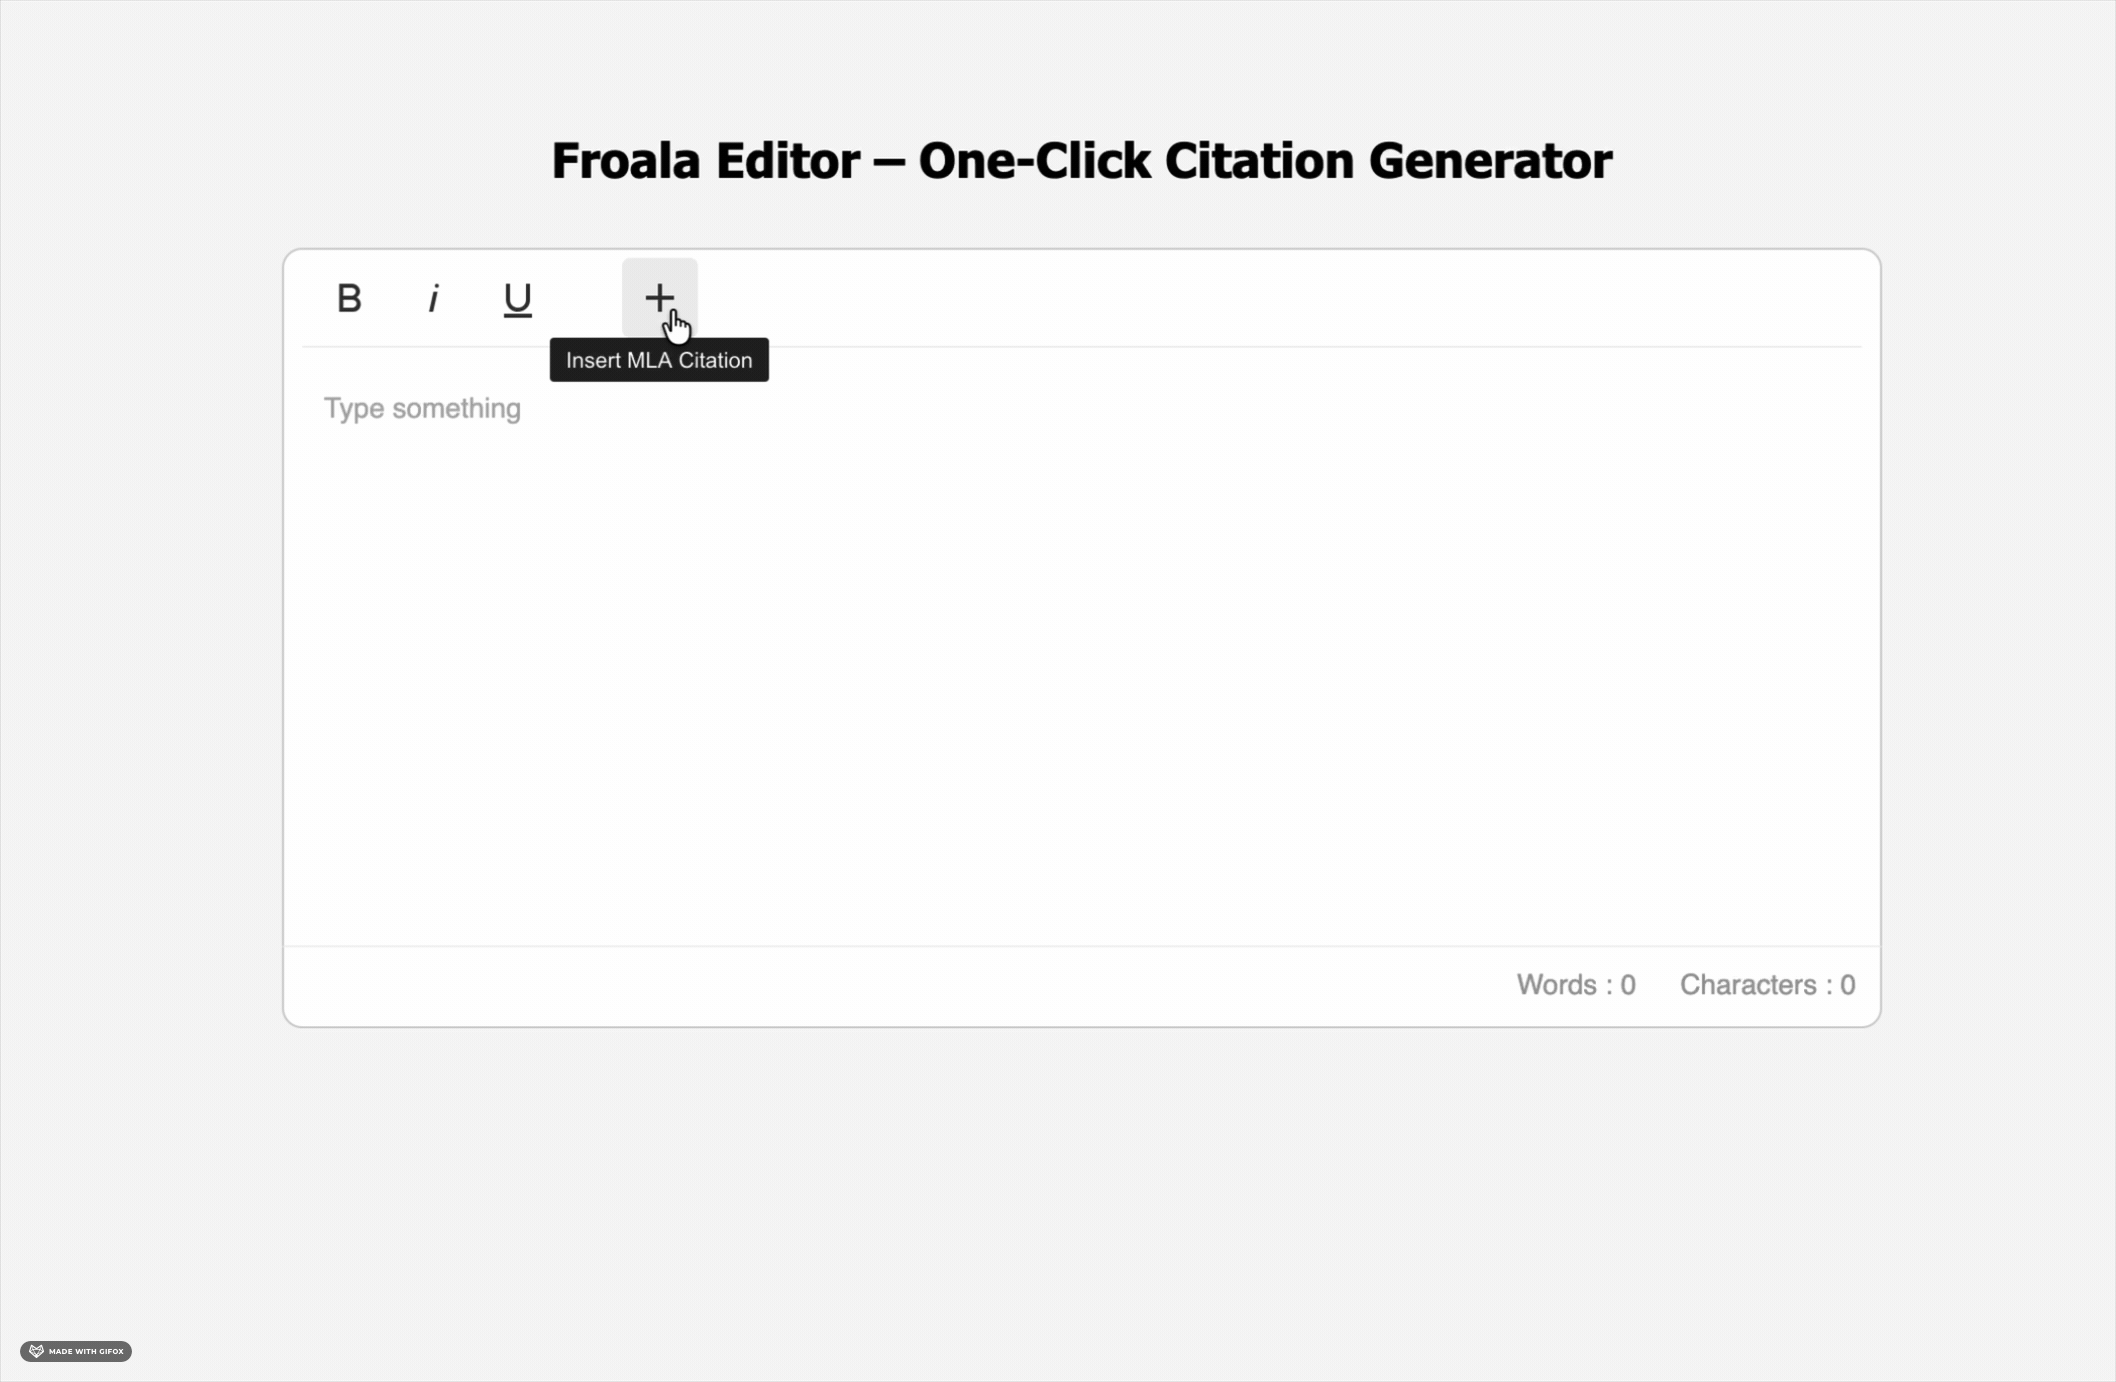
| // Define a custom icon for the new toolbar button
// “insertMLA” is the button name, “plus” is the icon name, and “add” refers to a built-in SVG key in Froala // Register a new custom command called “insertMLA” // Keeps focus in the editor when button is clicked // Allows the action to be undone using Ctrl+Z // Refreshes the editor UI after running the command // The main function that runs when the button is clicked // Add the new “Insert MLA” button to the toolbar |
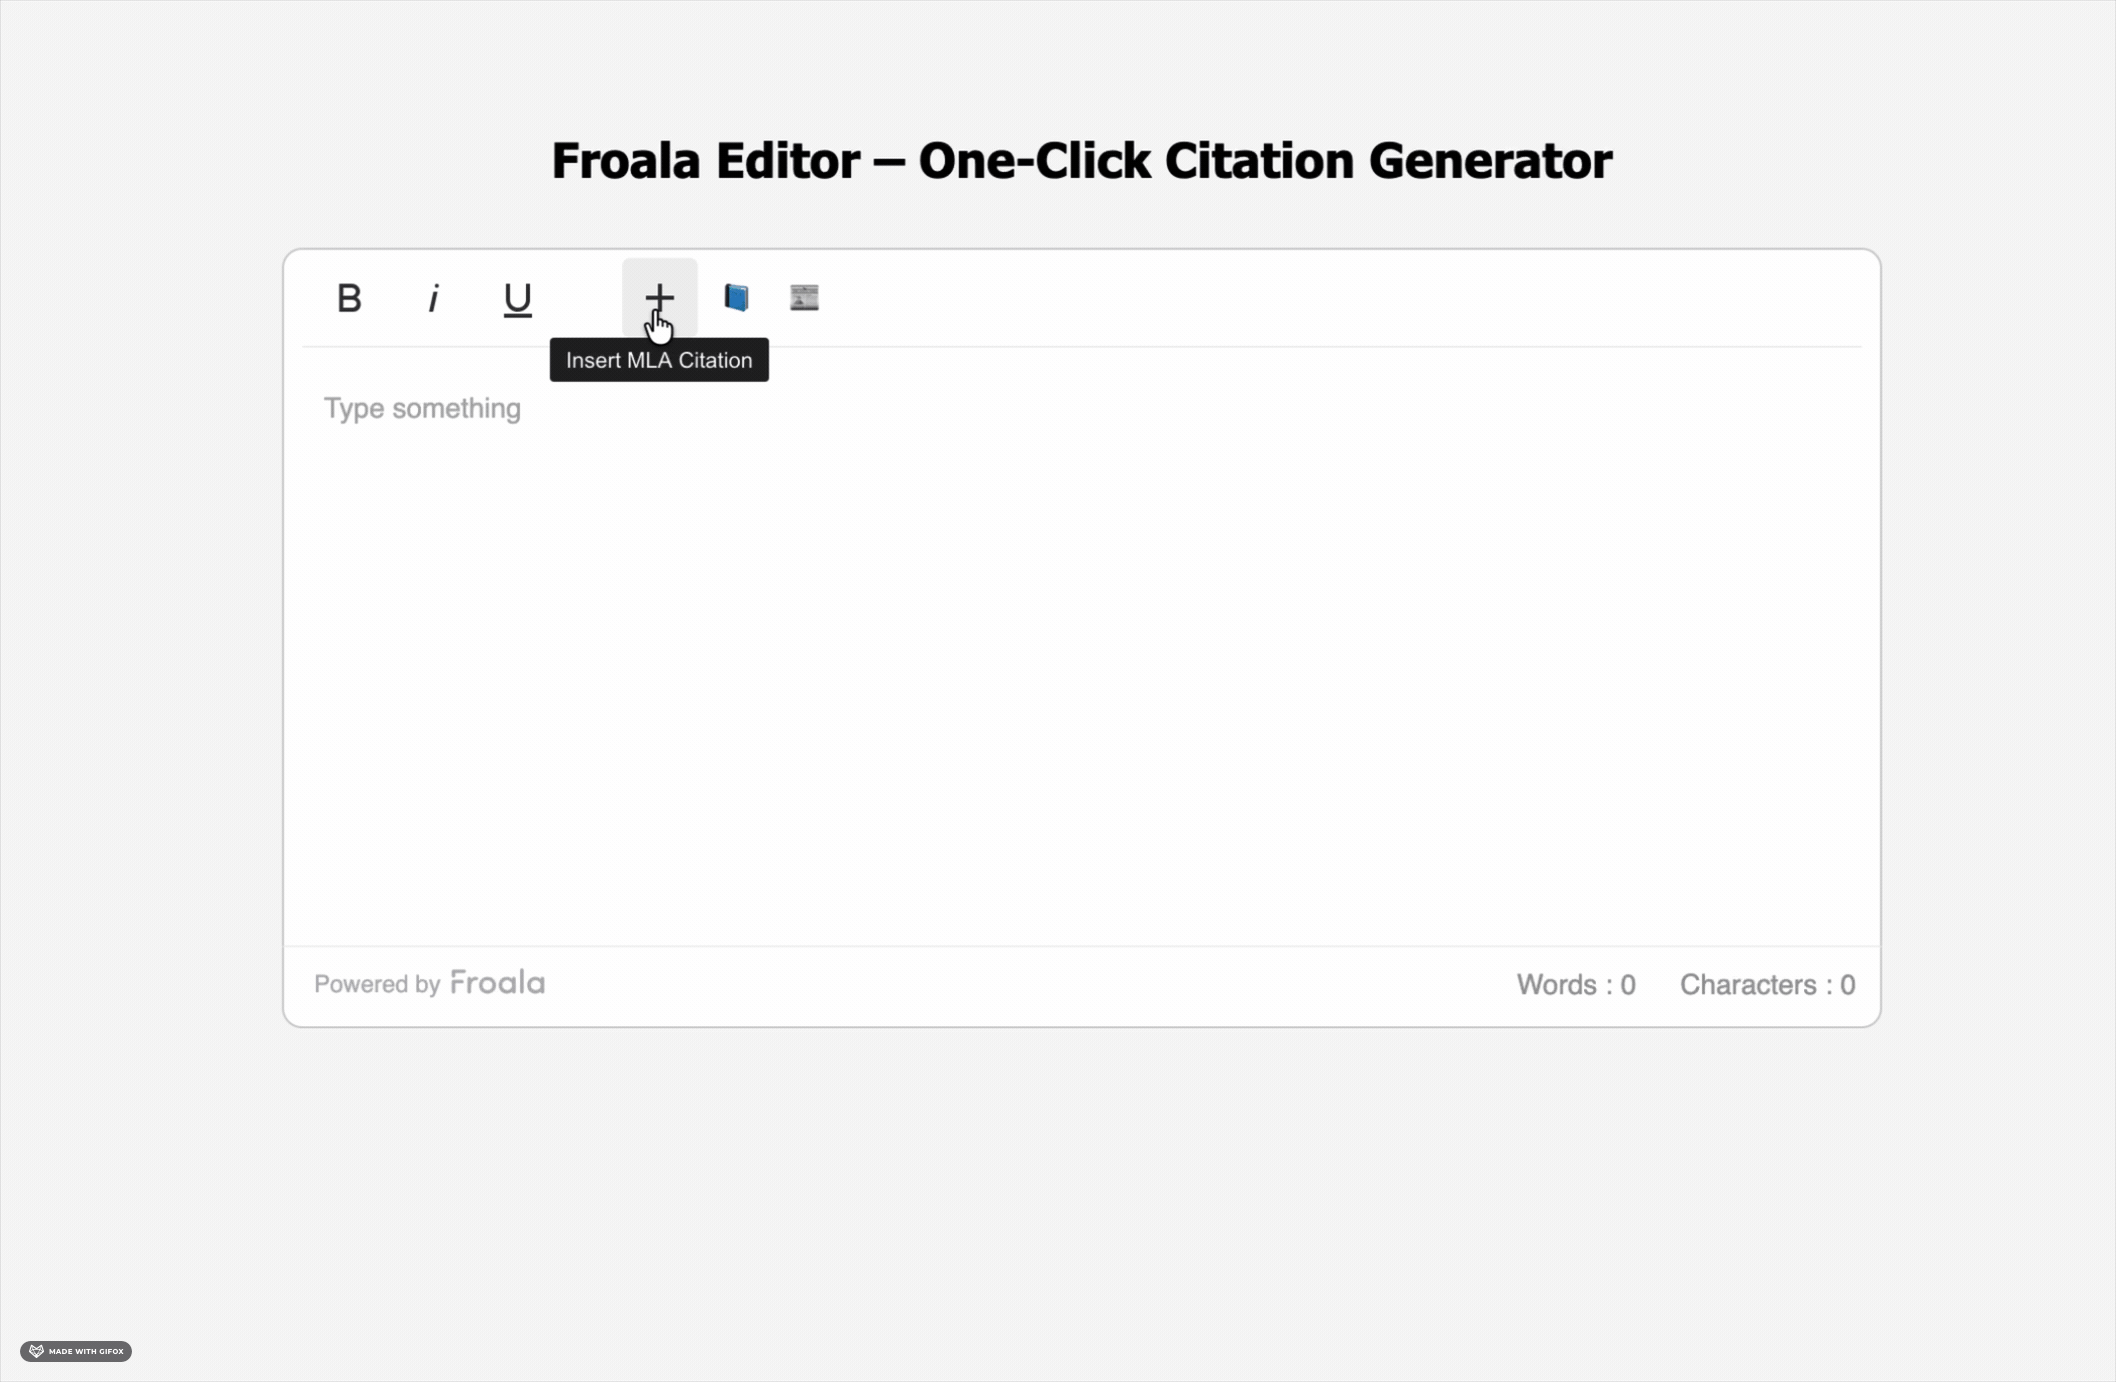
When you reload your page, you’ll see a new plus icon in the toolbar.
Click it and it’ll insert (Author ##) right where your cursor is.
Step 2.2: Make It Interactive
Let’s make this button smarter so it asks the user for the author’s name and page number.
Replace your previous button code with this:
| FroalaEditor.RegisterCommand(‘insertMLA’, { title: ‘Insert MLA Citation’, focus: true, undo: true, refreshAfterCallback: true,callback: function () { // Ask the user for the author’s last name const author = prompt(‘Author last name:’);// Ask for the page number (optional) const page = prompt(‘Page number (optional):’);// If the author name was entered, format the citation if (author) { // If a page number was provided, include it in the citation // Example: (Smith 42) // Otherwise, insert only the author’s name: (Smith) const citation = page ? `(${author} ${page})` : `(${author})`; // Insert the formatted citation at the cursor position }); |
Now, when you click the citation button, it will ask for the author and page number and insert something like (Smith 42).
Step 3: Add Multiple Citation Styles
Now that you have one working citation button, let’s make it even better by adding two more different styles: APA and Chicago.
Each button will insert a citation in the correct format automatically.
Step 3.1: Add the APA Citation Button
APA format includes the author, year, and optional page number.
Add this code to your script.js:
| // Define a custom icon for the APA citation button // Here, we’re using a text emoji 📘 as the button icon FroalaEditor.DefineIcon(“insertAPA”, { NAME: “📘”, // The icon or emoji shown on the toolbar template: “text”, // “text” tells Froala this is a text-based icon, not an SVG });// Register the new command for inserting APA-style citations FroalaEditor.RegisterCommand(‘insertAPA’, { // Tooltip text that appears when you hover over the button title: ‘APA Citation’,// Keeps focus inside the editor after the button is clicked focus: true,// Allows users to undo the citation insert with Ctrl+Z undo: true, // Ensures the editor refreshes after the command runs // This function runs every time the button is clicked // Ask for the publication year // Ask for an optional page number // Only insert a citation if both author and year are provided // Insert the formatted citation at the cursor position |
Step 3.2: Add the Chicago Citation Button
Chicago style uses author, year, and page, slightly different from APA.
Add this code to your script.js:
| // Define a custom icon for the Chicago citation button // We’ll use a newspaper emoji 📰 to represent the Chicago style FroalaEditor.DefineIcon(“insertChicago”, { NAME: “📰”, // The emoji icon that will appear on the toolbar template: “text”, // “text” means Froala will display the emoji as plain text instead of an SVG });// Register a new custom command for adding Chicago-style citations FroalaEditor.RegisterCommand(‘insertChicago’, { // Tooltip text shown when hovering over the button title: ‘Chicago Citation’,// Keeps focus on the editor after clicking the button focus: true,// Enables undo functionality so users can press Ctrl+Z to remove a citation undo: true, // Refreshes the editor UI after the command is executed // The main function that runs when the button is clicked // Ask the user for the publication year // Ask for the page number (optional) // Check that both author and year are provided before inserting anything // Insert the citation at the cursor’s current position in the editor |
Step 3.3: Add All Buttons to the Toolbar
Finally, update your Froala editor initialisation:
| new FroalaEditor(“#editor”, { toolbarButtons: [ “bold”, “italic”, “underline”, “|”, “insertMLA”, “insertAPA”, “insertChicago”, ], width: 800, height: 300, }); |
This way, your editor has three new buttons, each for a different citation style.
Best Practices
Now that your citation buttons are working, let’s make sure they’re easy and helpful for students to use.
Here are a few simple ways to improve your tool and keep it student-friendly:
- Start small: Focus on in-text citations first. They’re used more often than full bibliographies, and they keep things simple.
- Provide examples: Add placeholder text or examples in your input fields (e.g., “Smith” or “125-126” for page ranges), so students know what to type.
- Test with students: Try your tool with real users. You’ll often find small things that make a big difference.
- Save preferences: If your LMS typically uses one citation style (e.g., APA for psychology courses), consider making that the default.
- Handle special cases: Make sure it works for things like multiple authors (“Smith and Jones” or “Smith et al.”), page ranges (“125–126”), or sources without page numbers.
These small details can make the difference between a tool that’s just functional and one that students actually enjoy using.
Common Pitfalls
Even simple tools can run into problems if you overlook a few details. Here are some common mistakes to avoid when building citation buttons:
- Making it too complex: Don’t try to build a full citation manager right away. Start with basic citation inserts and improve later.
- Ignoring accessibility: Make sure your modals and buttons can be used with a keyboard and screen readers. Some students depend on assistive tools.
- Forgetting mobile users: Test your editor on phones and tablets, as many students do their work on mobile devices.
- Hardcoding styles: Avoid adding inline styles to citations. Use CSS classes instead, so teachers or admins can easily change formatting later.
- Ignoring edge cases: Plan for situations like empty inputs or unusual characters. Always check and clean what users type before inserting it.
- Sticking to one style: Not every class uses the same citation format. Give students an easy way to switch between MLA, APA, or Chicago.
Keeping these in mind will make your editor more flexible, accessible, and reliable for everyone.
Measuring Success
Once you’ve added the citation buttons, it’s important to see if they’re actually helping students. You can track a few simple things to find out:
- How often it’s used: Check what percentage of students use the citation buttons instead of typing citations manually.
- Accuracy: Look at whether citations are formatted correctly more often after adding the feature.
- Time saved: See if students finish writing tasks faster when using the buttons.
- Student opinions: Ask students if they found the tool helpful or if anything was confusing.
You can even run an A/B test, give some classes access to the feature and keep others without it, to compare how much of a difference it makes.
Conclusion
Adding a citation generator to your HTML rich text editor can make one of the toughest parts of academic writing much easier.
With just a bit of JavaScript, you can build custom toolbar buttons that let students insert properly formatted MLA, APA, or Chicago citations in one click.
The best way to begin is to keep it simple. Start with a basic version that asks for the author’s name and page number; that’s usually enough for most students. Later, you can add extra features like auto-fill, source search, or bibliography creation.
Editors like Froala make this process simple because they handle the tricky parts for you, things like cursor placement, formatting, and undo/redo. That way, you can focus on creating a smooth and helpful experience for students.
For EdTech teams, this small feature can make a big difference. Students will spend less time worrying about citation styles and more time improving their actual writing.
Start with one citation style, test it with students, and keep improving based on feedback. Soon enough, your LMS will feel smarter, smoother, and far more helpful to every student who uses it.
About the Author
Shefali Jangid is a web developer, technical writer, and content creator with a love for building intuitive tools and resources for developers.
She writes about web development, shares practical coding tips on her blog shefali.dev, and creates projects that make developers’ lives easier.