How to Create a Professional Invoice in 2 Minutes
Whether you’re a graphic designer, copywriter or web developer, invoicing is a key part of running a freelance business. But if you’re spending too much time chasing payments or formatting invoices from scratch, you’re not alone. The good news? Creating professional invoices doesn’t have to be complicated or time-consuming.
In fact, all it takes is a few simple tools and a clear understanding of what makes an invoice effective. Here’s how to streamline the process for your business and start sending client-ready invoices in minutes.
Table of Contents
Why a Professional Invoice Matters
For a freelancer, an invoice is so much more than a simple payment request. Well-crafted invoices help you stay organized when juggling multiple clients, projects and deadlines, minimizing disputes and ensuring you get paid on time and in full. They’re also vital for recordkeeping, especially when tax season rolls around.
More importantly, your invoices are a reflection of your brand and your business. A clean, accurate, polished invoice conveys professionalism and attention to detail, building greater trust with your clients.
The Key Elements of an Effective Invoice
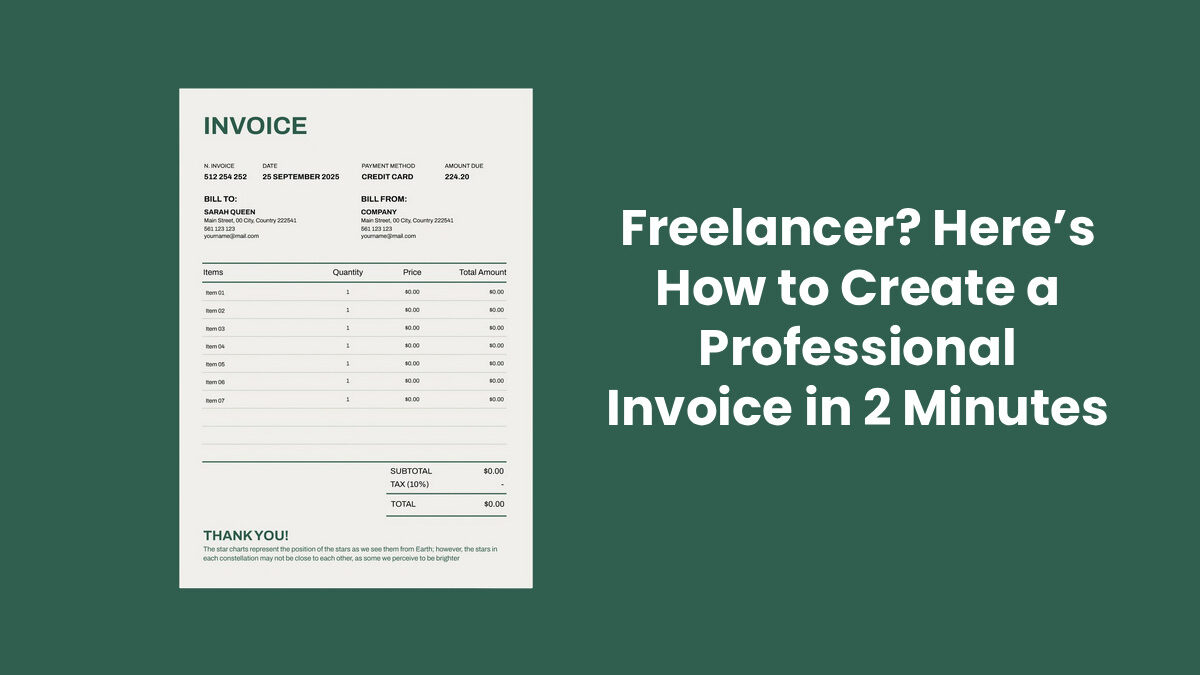
Before you jump into customizing your invoice, it’s important to make sure you’ve covered the fundamentals. To serve as a valid and effective record, an invoice for freelance work should typically include several essential pieces of information:
- Your name or business name and contact information
- Client’s name and contact details
- Unique invoice number
- Invoice date and payment due date
- Itemized list of services provided, including dates, descriptions and rates
- Subtotal, taxes (if applicable) and total amount due
- Accepted payment methods and instructions
- Any applicable notes (e.g. late fees, discounts or terms)
By incorporating all this info in one place, you’ll make life easier for yourself and your clients.
Use a Template to Save Time
One of the easiest ways to create a polished invoice quickly is to start with a template. Well-designed templates save a ton of time, letting you skip the fussy formatting and focus on the crucial details. With a simple invoice template, you can fill in your information and be ready to send it off in just a few clicks.
For best results, look for a template that you can customize with your logo and brand colors. It’s also a good idea to review the text to make sure it aligns with your desired tone.
How to Create a Professional Invoice in 2 Minutes
Ready to speed up your invoicing process? Let’s get down to business and take it step by step:
- Choose a Template: Download a professional template that fits your business style.
- Fill in Your Business Details: Add your name, contact info and business logo if you have one.
- Add Client Information: Make sure the client’s full name and email address are correct.
- Include an Invoice Number: Use a unique identifier for each invoice (e.g., INV-001, INV-002).
- List Your Services: Describe what you’re billing for and include quantity, rate and total.
- Calculate the Total: Double-check your math, and clearly list the amount due.
- Specify Payment Terms: Include due dates and list accepted payment methods.
Once the invoice is completed, save it as a PDF for easy sharing and archiving. You can then email it directly to the client or upload it to their preferred payment portal.
Tips to Get Paid Faster
Creating an invoice is the first step in getting paid, but it’s only part of the equation. Here are a few proven strategies to ensure your clients pay up on time:
- Send Invoices Promptly: Don’t wait until the end of the month — send out invoices as soon as each project is completed.
- Use Clear Payment Terms: Specify when payment is due (e.g. Net 7, Net 14) and clearly detail any late fee policies.
- Offer Multiple Payment Options: Giving clients the flexibility to pay via ACH, PayPal and other methods can often speed up transactions.
- Follow Up Politely: If payment is overdue, a courteous reminder email can go a long way.
Consistently implementing these invoicing practices can reduce delays and improve cash flow, helping you avoid many billing-related issues as a freelancer.
Common Invoicing Mistakes to Avoid
Invoicing can be tricky, and even experienced pros sometimes fall into these traps:
- Forgetting to Number Invoices: Without a unique invoice number, tracking payments becomes difficult.
- Being Vague With Descriptions: Clients should clearly understand what each charge is for.
- Omitting Payment Instructions: Always be clear about how, where and when clients should pay you.
- Failing to Back Up Invoices: Keep digital copies in secure folders or cloud storage for tax and recordkeeping purposes.
Small errors can lead to big delays, so remember to double-check everything before hitting Send.
Want an Even Faster Option?
If you’re looking to cut down on admin work, digital invoicing tools can help you automatically generate invoices, track payments and even send reminders — all with just a few clicks. Try a platform that walks you through how to create an invoice using step-by-step prompts and can save your info for future use.
While templates are a great starting point, automating the process may be the best option if invoicing takes up more of your time than you’d like.
Make Billing the Easiest Part of Your Day
As a freelancer, your time is your most valuable resource. Learning how to create a professional invoice quickly allows you to cut down on tedious work and focus on what you do best. Whether you use a prebuilt template or a digital automation tool, having a reliable system in place ensures you get paid accurately and on time.
Start streamlining your invoicing process today, and turn an administrative chore into a simple, repeatable task that supports your business growth.