Automatic Farms in Minecraft
Automatic farms save time in Minecraft. That is the whole point. One of the biggest reasons people build farms is simple. You spend less time doing repetitive stuff. Less replanting. Less running around picking up drops. More time actually exploring, building, or doing whatever you logged in to do in the first place.
The problem is that farm tutorials can make everything look way more complicated than it really is. Suddenly there are hoppers everywhere, redstone running in every direction, and enough moving parts to make you think you’ve opened an engineering textbook. You really haven’t.
You do not.
If you want a minecraft automatic farm tutorial for beginners, the best place to start is with a small build that actually works in survival. Not a huge machine. Not some overbuilt design that takes half a day and a stack of iron.

Table of Contents
What an automatic farm should do
A good beginner farm should do three things:
- grow crops on its own or near its own
- collect items with little effort
- be cheap enough to build early or mid game
That is why beginner farms are usually semi-automatic, not fully automatic. Minecraft has limits. Some crops still need a player to plant again unless you use villagers or more advanced systems.
So be honest about the goal. For a new player, “automatic” often means the farm handles harvesting or collection, while you only do one small part.
That still saves a lot of time.
Best farm to start with
For most players, the easiest first choice is a simple sugar cane farm.
Why sugar cane?
Because it grows back on its own. You do not need to replant it. And the redstone for it is easy compared to many other farms.
This is the kind of build people mean when they search for easy automatic farm minecraft survival ideas. It is useful, not too expensive, and simple enough to copy without messing up ten times first.
Sugar cane helps with paper, books, trading, and rockets later if you get elytra. So even a small farm keeps paying off.
What you need for a basic sugar cane farm
Here is a simple version of the materials:
- building blocks
- sand or dirt
- water bucket
- sugar cane
- pistons
- observers
- redstone dust
- hoppers
- chest
You can build this in one layer. No need to go huge.
And yes, pistons and hoppers take iron and redstone. So it is not a day one build for every player. But it is still realistic for early survival once you do a bit of mining.
How it works
Here is the basic idea.
Sugar cane grows next to water. When it reaches a certain height, an observer sees the update. That triggers a piston. The piston breaks the top part of the sugar cane. The drops fall down and move into hoppers, which send them into a chest.
That is it.
No complicated timing. No giant machine. Just growth, detection, break, collect.
That is also why it counts as a simple redstone farm minecraft players can actually build without needing a tutorial open every second.

Step-by-step build
Here is one clean way to make it.
1. Place the farm base
Make a row of blocks as long as you want the farm to be. Even five or six sugar cane spots is fine at first.
Behind that row, place water so each sugar cane block can grow next to it.
Then place sand or dirt in front of the water. That is where the sugar cane goes.
2. Add the collection line
In front of the sand, dig out one row for hoppers.
Place hoppers pointing into a chest. If your farm is longer, connect several hoppers into each other so everything flows into one chest.
Put your chest at one end where it is easy to reach.
3. Place the sugar cane
Plant one sugar cane on each sand or dirt block.
Do not stack it by hand. Just leave one block and let it grow naturally.
4. Add pistons
Place pistons behind the sugar cane row so they face the plants.
You want them lined up to break the second block of sugar cane when triggered.
5. Add observers
Place observers above or behind the pistons so they detect when the sugar cane grows.
The exact direction matters. The observer face needs to watch the sugar cane, and the output side needs to send the signal to the piston.
If it does not fire, the observer is probably facing the wrong way. That is the most common mistake.
6. Connect the redstone
In many simple designs, the observer can trigger the piston directly or with a very short redstone line.
Keep it short. Beginner builds are easier when there are fewer places to make mistakes.
7. Test one section first
Before building a long row, test one sugar cane spot.
Growing it with bone meal will not work, because sugar cane does not use bone meal. So either wait for natural growth or test the piston by updating the observer another way.
Once one section works, copy it across the row.
What this farm gives you
This type of farm is good because it keeps running while you do other things nearby.
You can mine, sort items, build, or work on your base. Then come back and collect what built up in the chest.
It is not the fastest farm in the game. But that is fine. Fast farms usually cost more, take more space, and break more easily if you build them wrong.
In survival worlds, reliability matters more than size. A small farm producing resources every day is much better than a huge farm that barely functions.
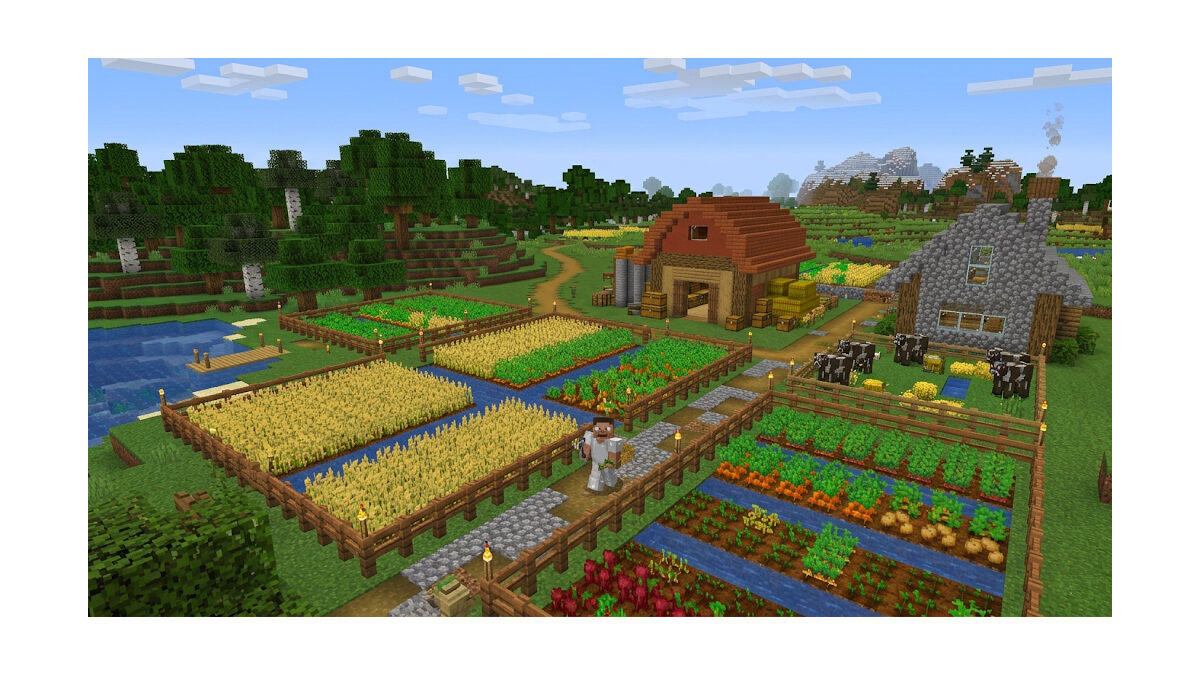
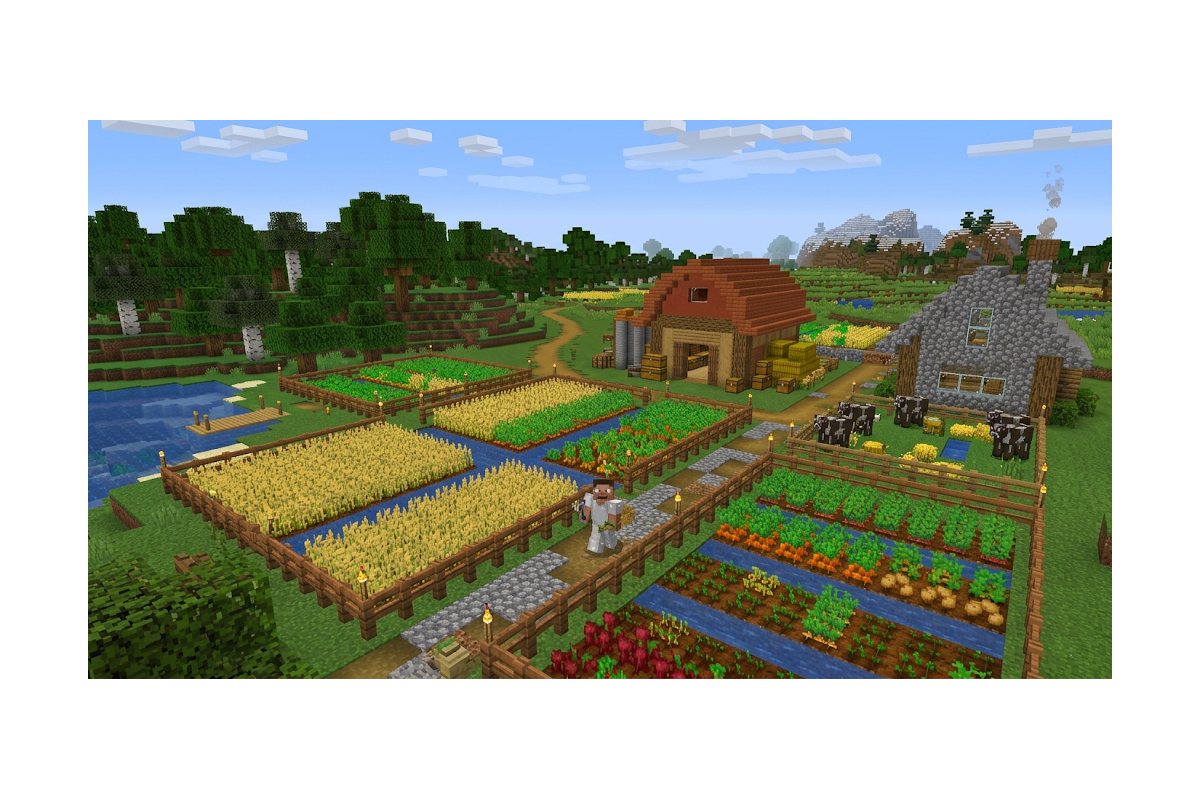
The Best Beginner Crops in Minecraft
Compared to sugar cane farms, these crops are a little less automatic. Replanting is usually part of the process unless you’ve built a more advanced setup.
So a fully automatic version often uses villagers. That makes the build more annoying and harder for beginners.
A simple version is still possible, though.
You can make a water flush farm where crops are planted in rows. Then you hit one lever, water flows across the field, and the drops move into hoppers. After that, you replant by hand.
That is not fully automatic, but it still saves time. And it is often the better first step for food farms.
Common mistakes
A few things go wrong a lot with early farms:
- Observer facing the wrong way
This is probably the number one problem. - Hoppers not pointing into the chest
If items are not moving, check hopper direction. - No space for drops to fall properly
If blocks are in the way, items can land where hoppers do not catch them. - A compact farm that’s reliable will usually outperform a huge farm that’s full of little mistakes. Bigger isn’t always the advantage people think it is.
- Expecting every farm to be fully automatic
Some farms are just easier as semi-automatic builds, especially early on.
Where this helps most
Automatic farms matter more the longer you stay in one world.
If you and your friends are building a shared server, these systems save a lot of boring repeat work. A few small farms can support books, food, trading, and basic materials without constant manual grinding. And if you are comparing server options before setting up a long-term world, a thread like which minecraft host is worth paying for can be useful to read alongside build planning.
Final thoughts
If you are new, start with one farm that is simple and useful. A lot of players overthink sugar cane farms. The crop itself is simple, and the farm can be simple too. Since sugar cane keeps growing without any extra work from you, even a small automated setup can make a noticeable difference. You don’t need a giant machine covering half your base. A basic row with pistons, observers, hoppers, and storage is usually more than enough.
That is the real win. Not a giant machine. Just a farm that works, fits your survival world, and does one job well.