![What is a CSV File and How to Create it? – Complete Guide [2020]](https://www.computertechreviews.com/wp-content/uploads/2019/08/What-is-a-CSV-File-and-How-to-Create-it-Complete-Guide-2019-1200x675.jpg)
Table of Contents
What is a CSV File?
A CSV File (comma-separated values) is a text file that stores data in the form of columns, separated by commas, and rows are distinguished by line breaks.
This article will answer your all the questions such as what is CSV file, CSV Meaning, what does CSV Stand For, How to Create a CSV File, CSV File Format, How to convert CSV file to Excel and many more.
What Does CSV Stand For?
CSV Meaning
A CSV file (comma separated values) is a special type of file that you can create or edit in Excel. Instead of storing information in columns, CSV files store data separated by commas. When text and numbers are saved in a CSV file, it is easy to move them from one program to another. For example, you can export Google contacts to a CSV file and then import them into Outlook.
It is a very simple way to represent the information. Normally it is used to import or export databases of some applications. The most common spreadsheet programs give you the option of recording your files in this format, with the option of “save as.”
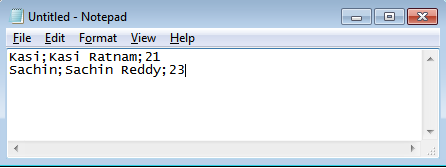
Let’s see an example:
We make a table in a spreadsheet:
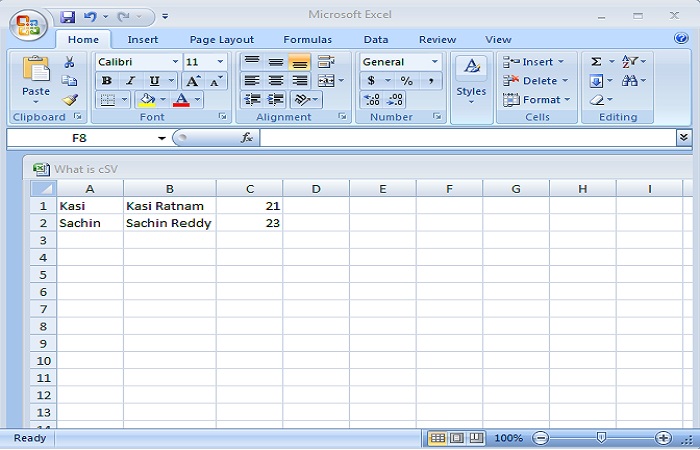
We remain as CSV (delimited by commas), then open in the notebook verifying that it is more than a text file where the columns are separated by; (in this case) and row changes by line break.
How to Create a CSV File?
Many people continue to use spreadsheets in order to maintain a customer database. That can be enough if you have five or ten customers, but to develop your business you need an effective tool, such as CRM, so you can monitor your customers.
This guide will teach you how to save your existing spreadsheet as a CSV file.
Step 1. Access Documents
Access your ONLYOFFICE portal and click on the Documents link.
If you have already accessed the portal and are using it for some time, to enter the Documents module, open the list with drop-down in the upper left corner of the page and select the corresponding option.
Step 2. Open your spreadsheet
- The My Documents folder will open.
- To open the file which is stored on your hard drive, first upload it to Documents by clicking the Upload option at the top left of the page.
- You can also create a new spreadsheet directly in the portal by pressing the create option in the left corner upper side and then clicking on the Create table option from the drop-down list.
Step 3. Edit your spreadsheet
To import the data correctly, you must follow some general rules:
- the first row is a header that contains column / row names;
- To add a header, select the first row with the mouse. Right-click and continue Insert and then Entire row. An empty row will be added to the above-selected row. Enter the necessary column / field names.
- The required fields are Name and Surname for import of people, Company name for import of companies;
- To add a new column (for example: to separate the First and Last Name if they are entered in the same column or to add some new information) to your spreadsheet, select a column before which you want to add a new column. Right-click and continue Insert >> Entire column. A column will be added to the left side of the selected one. Enter the necessary values.
- There is only one contact in a row.
- Find your spreadsheet and click the Edit icon – pencil icon on your right side or use the Edit option in the context menu. The file will open in the new tab.
Step 4. Save your spreadsheet as a CSV file
CSV (English comma-separated values) is a simple file format compatible with various applications, for example by text editors. Such files store tabular data in the text format.
- To save your spreadsheet as a .csv file, click the File icon on the left sidebar, select the Download as option and choose the CSV format.
- The Choose CSV options window will open. Select Unicode (UTF-8) as the Encoding type and Comma as the Delimiter to separate values in your file. If not, it will not be possible to upload the file to CRM or the information will be displayed incorrectly.
- Press the OK button to save your file.
- By default, the created CSV file is saved in the Downloads folder on your hard drive. Now you can start importing contacts to CRM.
In this way, you can convert some necessary spreadsheets to the CSV format.
CSV Format
The abbreviation CSV refers to a type of text data in the data processing with which large amounts of structured data can be registered, stored, and processed. The term CSV means “comma-separated values”. CSV files are often used for product catalogs of online stores. The file ends in .csv.
Background and structure
Structured data can be used and programmable with the CSV format. There are no fixed coding rules to create CSV files. Normally, UTF-8 is used and writes in 7-bit ASCII. Special characters (commas, tabs, etc.) are also used for line breaks. The common representations are the tables, in which other tables too be nested.
The following structure is typical for a CSV file:
- Definition of the columns in the table header.
- A character is helpful to separate individual records.
- It is also used to separate individual columns (commas, tabs or spaces).
- Field delimiter which is a Special HTML character inside the file, is used to avoid confusion with the separators.
Formatted
There is no uniform format for CSV files. When data is collected for special reading software, the format must be defined in advance to avoid errors. Therefore, problems occur when reading the date and time data. Similarly, it is possible that more text causes reading errors.
Application areas
CSV files are used in many areas. Here are some application examples:
- Export of products for the ERP system of an online store.
- Data export from an SEO software tool, reanalysis tools, or web analysis tools such as Google Analytics to process the programs and reports.
- Also used in products imports for comparison portals or shopping engines such as Amazon Product Ads or Google Shopping.
- Used to Data export, which helps in delivering data through CSS.
- Export of URL lists for further processing with suitable analysis tools.
How to Convert a CSV file to Excel
Sometimes we download files from the Internet or receive other files in CSV format. These files are data from tables that, unlike Excel files, are written in conventional text files. If you have CSV files, merge CSV files first before converting them into an excel file.
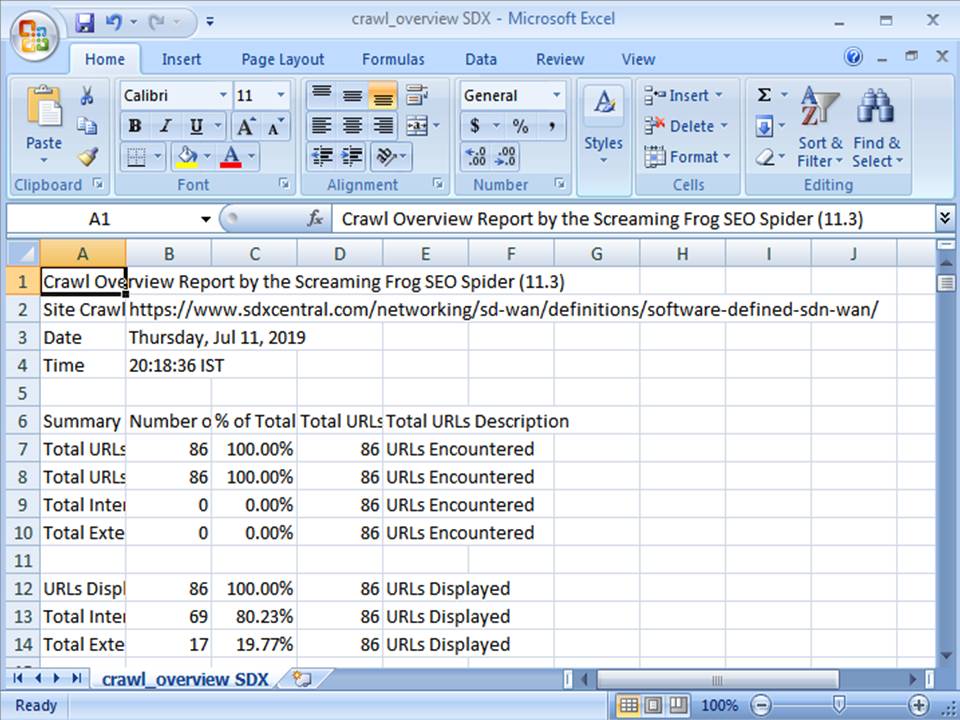
The fact of being that way can generate certain problems, but without a doubt, the greatest of all is that if we have our equipment located with a Spanish keyboard, we will realize that if we try to open these files, the result is not as expected. In the following example we see what happens when we open a CSV with Excel, the example is a download of the Microsoft stock market history downloaded from Google Finance:
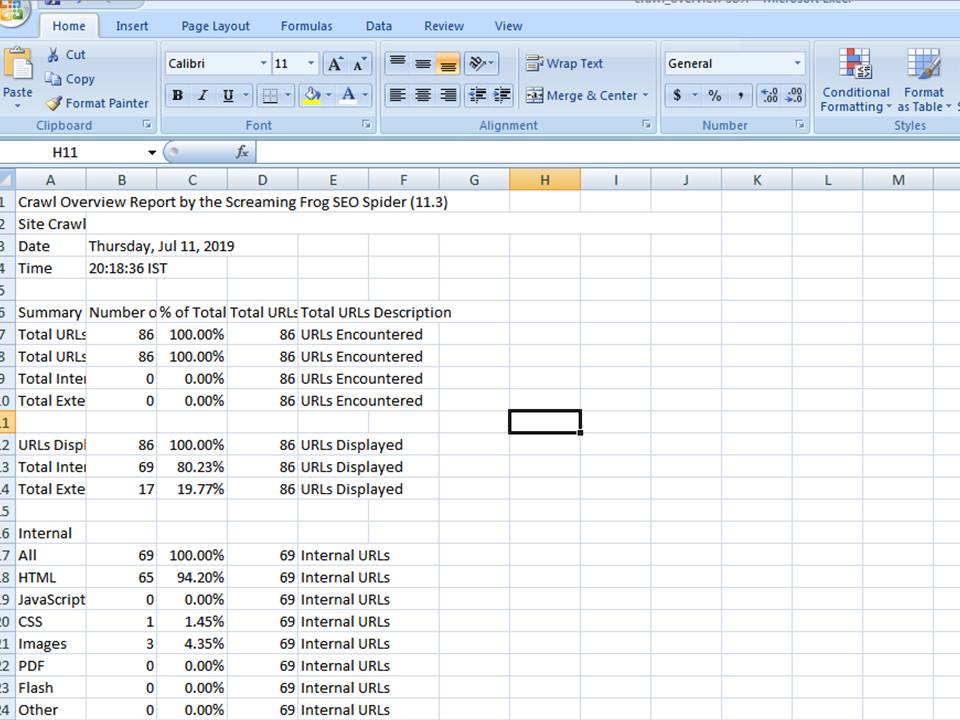
It is not pleasant that something that we hope is a table is displayed in this way.
It is because our operating system is located in India, it will not recognize the comma (,) as a box delimiter. The reason for this is that in our regional or language configuration, the designated delimiter is the tab. As if this were not enough, opening CSV files in Excel directly can cause more problems of coding and incorrect identification of the data.
To solve this Excel provides us with a very friendly way to solve it, through the menu, the import of data. Follow these steps carefully to open a CSV file correctly.
In this trick, we are using Microsoft Excel 2016, and a sample CSV data file downloaded from the Google Finance platform corresponding to the stock market history of Microsoft shares.
If you want to follow this guide using the same CSV file that we use, you can download it by clicking here.
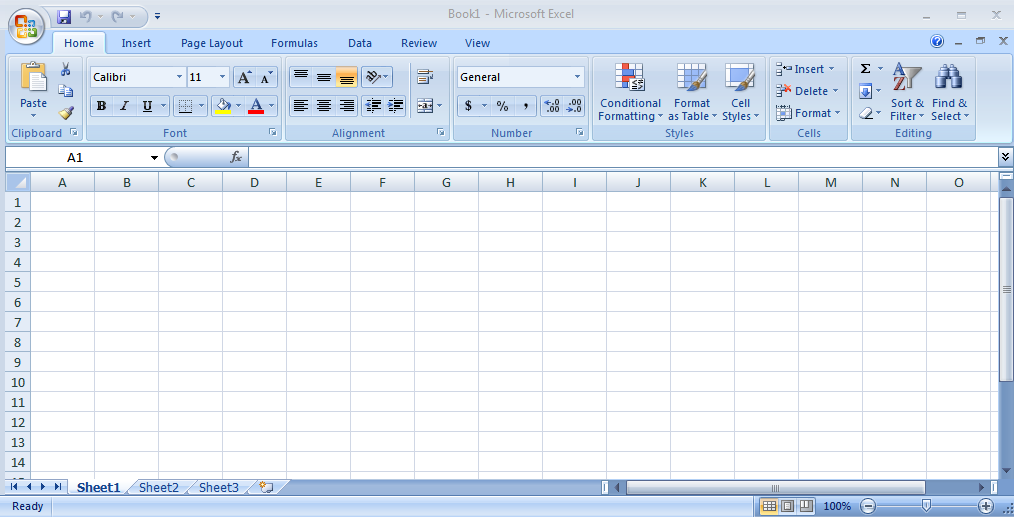
1 – Open Excel and create a new book.
2 – Go to the Data tab and click on “Obtain external data.”
3 – Then click on “Data from a text file.”
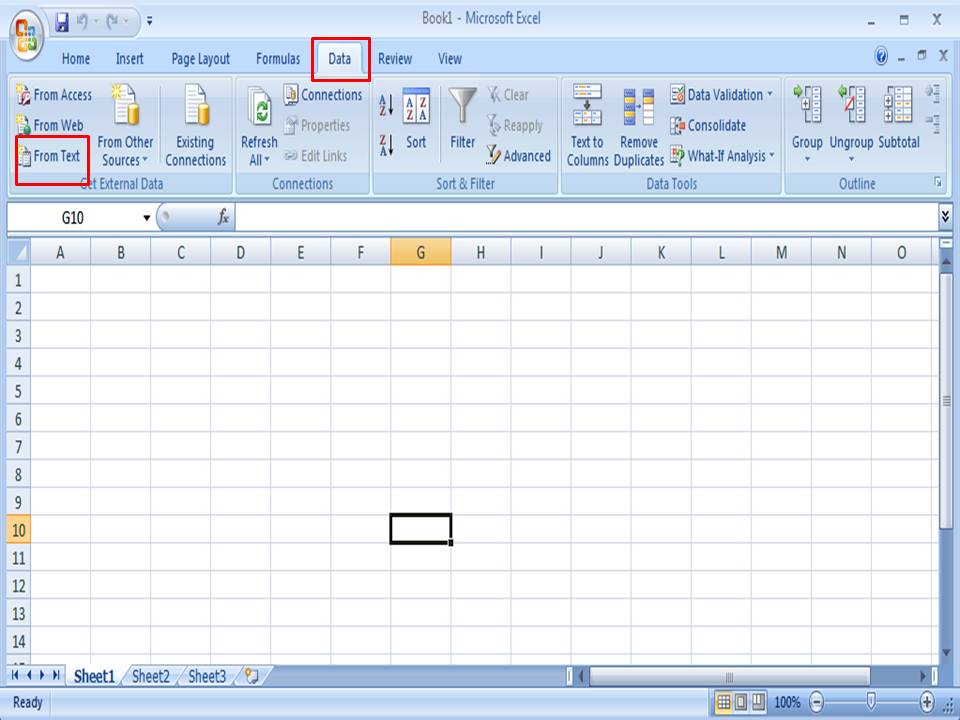
4 – A browser window will appear to search and select the CSV file that we want to open. After choosing it, click on “open.”
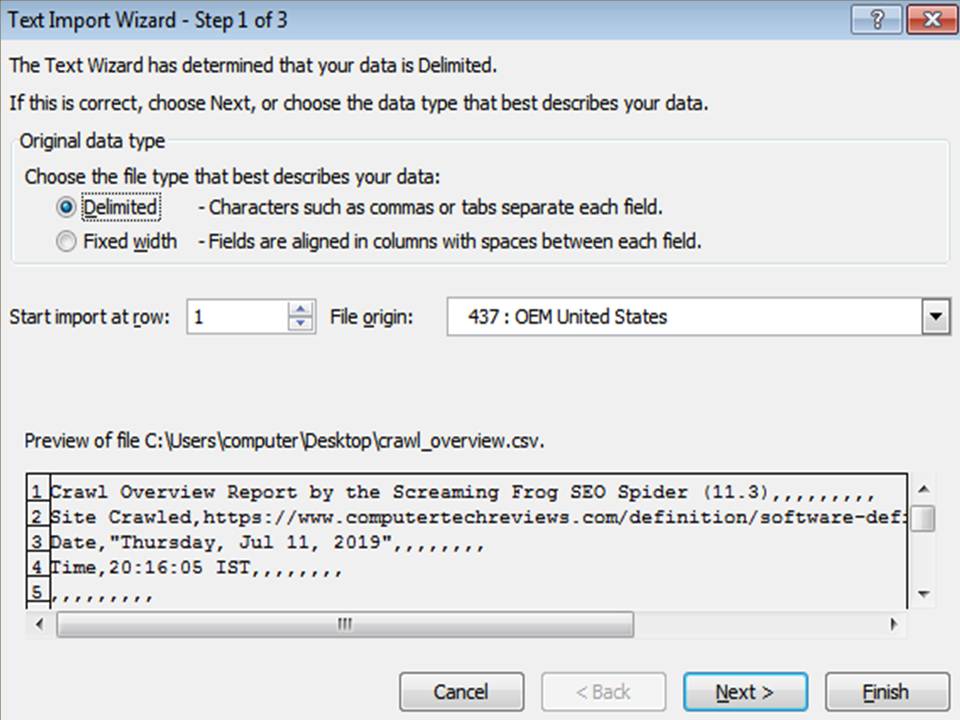
Immediately afterward, we will skip an assistant to guide us in the process of importing and converting the data to our Excel workbook.
5 – Mostly, a CSV file is delimited by commas, so we select the “Delimited” option. If the file includes headings or titles for the fields, do not forget to select the option “My data has headings.” Done this click on next.
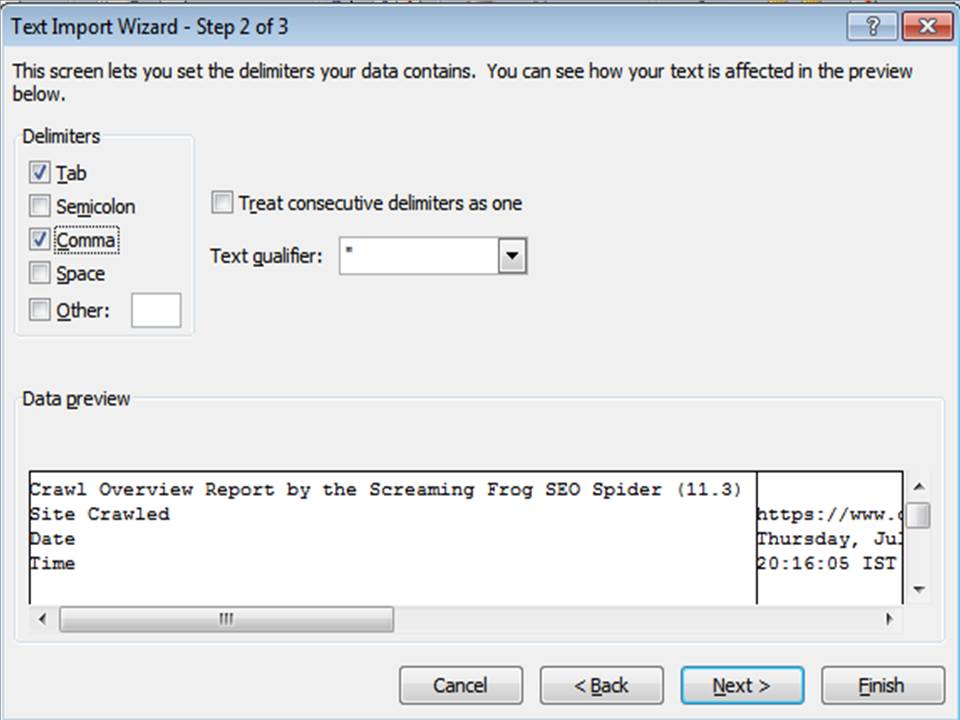
6 – We arrive at the most important step, where we choose the delimiter, which is usually a comma. When selecting it we will see that it shows us an example of how our data will be selected and finally we can see the columns as they should be.
7 – We arrive at the step where we can indicate what type each column is. Select each column in the preview and indicate the type of data it is. If we leave it in “General,” it will take it as a numerical value. We can select the date format as well, where DMA abbreviates day, month and year. Before clicking on “Finish” it is important to click on advanced and go to step 8 of this trick.
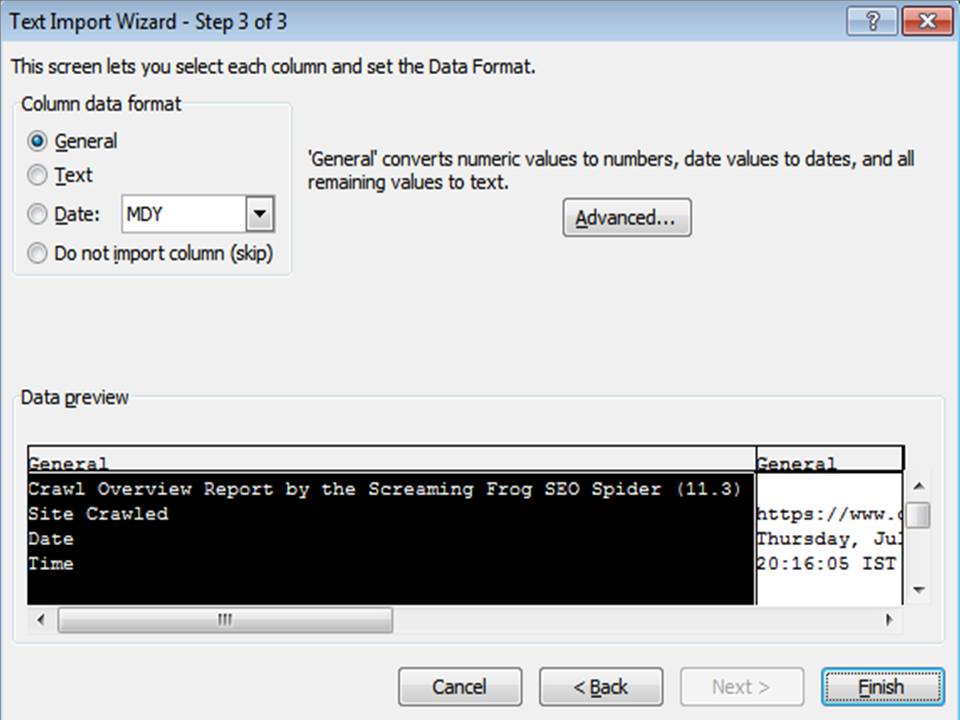
8 – Most likely, if the data we are importing has numbers, they are in American format, which, unlike Spanish-speaking countries, use the point as a decimal delimiter and the comma to delimit thousands and millions. If this is the case, having pressed on advanced, we have to indicate the format used by the data that we are importing and put a point for decimal separator and comma for thousands separator.
9 – We accept the advanced configuration window and click on finish.
10 – Once this is done, a final window will appear indicating if we want the data to be imported into the current document or if we want it in a new document. If you have already opened a new document before starting this, the behavior is the same. Additionally you have another set of options to explore before clicking on accept.
Now we should have the imported data in Excel, we have the columns as they should be, and finally we can start working with them.

The Top 10 Electronics Stores Near Me Scottsdale, Arizona, United States
The Top 10 Electronics Stores Near Me Scottsdale, Arizona, United States – Do you live in Scottsdale? Or have you moved…

The Impact of Modern Technology on Sports Betting
Understanding the Role of Modern Technology in Revolutionizing Sports Betting Technology has significantly transformed the landscape of sports betting in…